
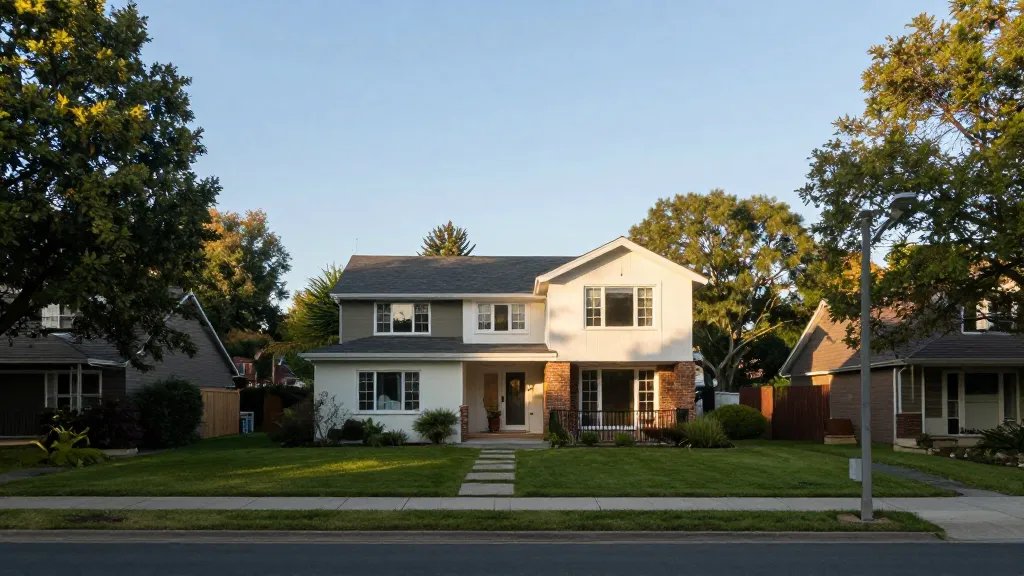
If you’re thinking about adding a bit of extra space to your life (and your mortgage), you’re not alone. A house extension can be a game changer, but the planning bit can feel like juggling a dozen sticky notes. Let’s cut to the chase and map out a practical, step-by-step plan you can actually follow.
Start with the dream, then lock in the measurements
You don’t need a royal decree to start dreaming, but you do need a rough map. Imagine how you’ll live in the new space: a bigger kitchen for Sunday dinners, a home office with a view, or a sunny family room for lazy Sundays. Sketch a rough layout on paper or use a simple app. Don’t get hung up on details yet—think in zones instead of exact walls.
Why this matters: it gives you a north star for everything else. Without a direction, you’ll drift, and drift tends to cost more in time and money.
Check the practical stuff early: site, budget, and constraints
Before you fall in love with a design, ask practical questions:
- What’s the site like? Is there space for an extension without crowding the garden?
- How much can you realistically spend, including a contingency? (Always budget for the unexpected — 10-15% is a solid cushion.)
- What are the planning rules in your area? Are there restrictions on height, depth, or materials?
If you can’t answer these right away, call a local architect or planner for a quick chat. FYI, early conversations save drama later.
Design principles that actually work
A great extension respects the existing home while giving you something better. Here are practical principles to guide your design:
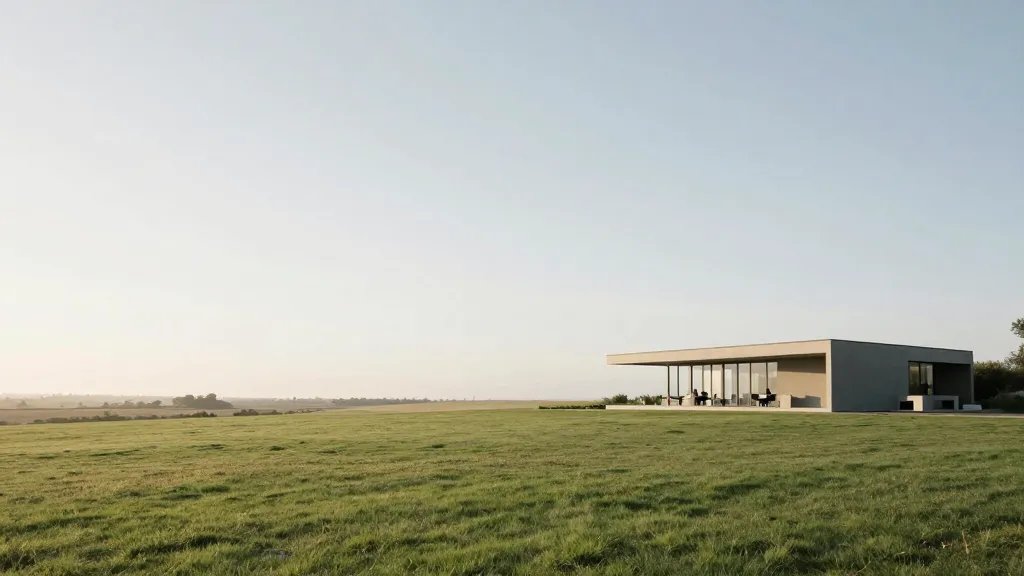
- Keep sightlines and natural light in mind. Bigger windows, better vibes.
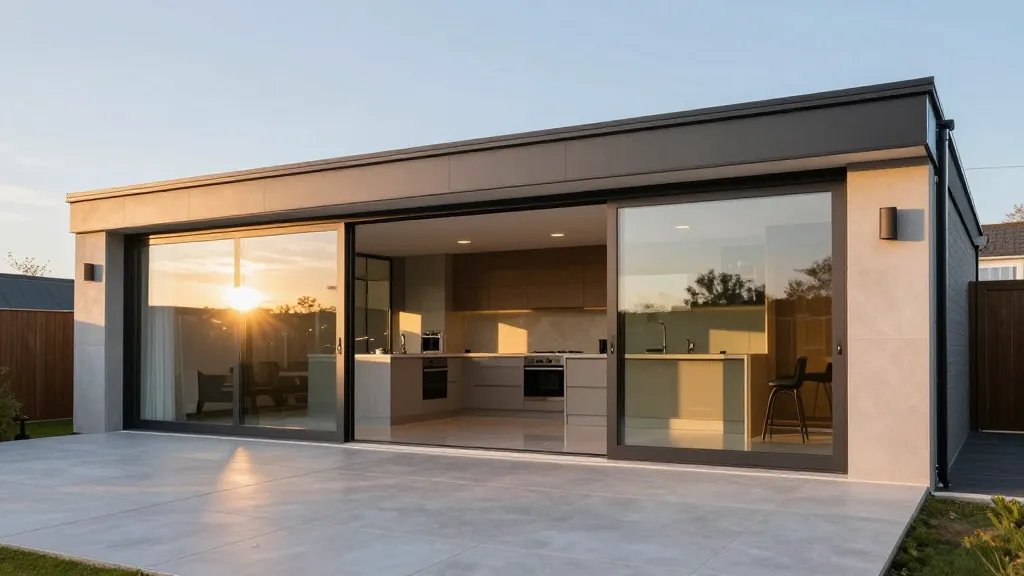
- Connect indoor and outdoor spaces where you crave flow—think doors that open to the garden or a courtyard.
- Match the structural rhythm of the house. Don’t fight the style; complement it.
- Plan for energy efficiency from day one. Insulation, drafts, and heating choices save money long-term.
If you’re unsure about materials or layout, gather a few samples and pin them up. Seeing textures next to your existing brick or plaster helps you decide without endless meetings.
Engage the right pros (and why you should)
This is where many people either sleep easy or panic-sell their kids’ iPads in a fit of DIY bravado. Do not DIY the core design and structural elements if you don’t have the chops. Here’s how to crew up properly:
- Architect or architectural designer: translates dreams into deliverable plans, ensures you meet regs.
- Structural engineer: makes sure the extension won’t wobble when your in-laws claim a seat at the table.
- Builder or contractor: turns the plan into bricks and mortar, and yes, they matter a lot.
- Local authority or building control: keeps you compliant and avoids fines that suck the fun out of an otherwise good project.
When you’re interviewing, bring a few reference projects, ask about exact timelines, and request a transparent cost breakdown. Ask yourself: can I actually work with this person? If the vibe is off, keep looking. Stuff like “we’ll start when we feel like it” is not a great sign.
The plans, permits, and paperwork: a painless run-through
Yes, this part sounds boring, but it’s essential. Here’s a simple checklist:
- Draft plans: either with a designer or DIY if you’re confident. Include floor plans, elevations, and a section showing how the extension sits with the existing structure.
- Planning permissions: check if you need full planning permission or just permitted development rights. It varies by location and extension size.
- Building regulations: even if planning permission isn’t required, you must meet building regs for safety, ventilation, and energy performance.
- Party wall considerations: if you’re extending into a boundary or sharing a wall with a neighbor, you’ll likely need a Party Wall Agreement.
- Contracts and warranties: get everything in writing, with milestones and payment schedules. Verbal promises don’t pay the plasterer.
If this all sounds chaotic, remember: you’re not the first person to navigate this. Local councils usually have resources, and your architect or builder should handle much of this for you.
The design details that boost daily life
Here’s where you turn the blueprint into a space you’ll actually use and love.
Light, flow, and the human scale
Think about how people move through the space. A wide, welcoming doorway from the kitchen into the living area? Yes, please. Ceiling heights matter too—slightly higher ceilings can make a space feel airy without breaking the budget.
Storage without sinking your style
Built-in cabinets, under-stair storage, and clever pantry solutions save you from the “where do we put everything?” headache. Box clever, not bulky.
Heating, cooling, and comfort
An energy-efficient system pays back over time. Consider underfloor heating if you’re building a new floor—it’s comfortable and luxurious without being loud. If you’re in a milder climate, a smart thermostat can trim bills and boost convenience.
Materials that age gracefully
Choose durable surfaces that look good after daily wear and tear. Think scratch-resistant worktops, robust flooring, and finishes that won’t scream “70s renovation” in a couple of decades.
Mastering the budget without the heartbreak
Let’s be honest: budgets spiral. Here’s how to keep it on track without turning the project into a budget horror story.
- Set a clear top line and keep a realistic contingency (10-15%).
- Prioritize: base the budget on what adds the most value to daily living (a larger kitchen, better heating, better insulation).
- Phased approach: if funds are tight, consider completing the skeleton now and adding finishing touches later.
- Get multiple quotes and check references. Colorful promises don’t pay the bill.
FYI, you’ll probably discover “little” extras that weren’t in the plan. Don’t freak out—just validate the cost and decide if it’s essential or nice-to-have.
Construction phase: keeping calm and carrying on
The build phase tests patience and endurance. Here are practical tips to stay sane and avoid drama.
- Daily communication: agree on a simple method to report progress and snag fixes—text updates work.
- Protect your living space: dust barriers, plastic sheeting, and clear access routes keep the rest of the house usable.
- Sound considerations: plan noisy work for times when you’re least likely to care. FYI, music helps—just not at full blast during inspections.
- Access and deliveries: arrange storage for materials so they don’t clog your home’s important zones.
If issues pop up, don’t panic. Most projects hit a snag; it’s how you handle it that matters. Use humor, not heat, to keep morale high.
Finishing touches and getting the keys to a new vibe
You’ve got walls, doors, and a floor you can actually walk on. Now, the fun part begins: turning the space into your home.
- Lighting layers: combine ambient, task, and accent lighting to shape mood and function.
- Fittings and fixtures: choose cohesive styles that tie the old and new bits together.
- Soft furnishings: rugs, curtains, cushions—these transform the space faster than you think.
- Outdoor integration: ensure the extension feels like a natural extension of the garden or patio.
Here’s a little trick: don’t rush the decor. Move a few items in, live with them for a while, then refine.
FAQ
Do I need planning permission for a house extension?
In many places, some extensions fall under permitted development, but it’s not universal. Check your local council’s guidelines and consult your designer to be sure. It’s better to confirm early than face a costly redraw later.
How long does a typical extension project take?
Rough timelines vary by size and complexity, but plan for several months from design to completion. Account for design approvals, demolition, build, and a finish-out phase. If you’re unlucky with weather, add more time. FYI, patience becomes a superpower.
How can I avoid overrunning the budget?
Get detailed quotes, set a contingency, and strictly track changes. Avoid upgrading finishes mid-build unless the extra cost moves the needle meaningfully in daily life. There’s a fine line between “nice-to-have” and “needs to exist.”
What are common pitfalls during extensions?
Tiny errors can cascade: underestimating foundations, ignoring daylight angles, or forgetting about drainage can bite you later. Nail the basics first, keep popular design choices sustainable, and don’t skip the professional checks.
Should I DIY any part of the project?
For structural work, plumbing, and electrical, leave it to licensed pros. You can handle interior cosmetic touches if you’ve got a clear plan and good boundaries with trades. Just know your limits and don’t risk safety or code compliance.
What’s the best way to choose a contractor?
Interview several teams, ask for written references, and visit two or three current sites if possible. Check how they handle changes and delays, and ensure they provide a transparent schedule and payment plan. If they sound vague, walk away.
Conclusion
Planning a house extension is a marathon, not a sprint. Start with a clear vision, map out the practicalities, and bring in the right people who know how to turn that vision into something solid. Stay flexible, keep the vibe light, and remember: you’re not just adding space—you’re nudging your daily life toward a little more joy. So grab a coffee, sketch a quick layout, and start turning that dream into a plan you can actually live with. IMO, the payoff is almost always worth the effort. Now go forth and extend with confidence.