The moment you hear running water in a place it shouldn’t be, you don’t call a wizard with a wrench—you grab a few tools, take a breath, and DIY your way back to peace and purring pipes. Basic fixes can save you cash, time, and the dread of a flooded cabinet. Let’s cover the practical stuff you can actually do without turning your whole bathroom into a science project.
Start with the basics: stop, assess, and plan
Water problems spike anxiety faster than a slammed faucet, but a calm game plan keeps you in control. First, locate the source. Is it a dripping faucet, a running toilet, or a loose supply line? Next, turn off the water where you can. Most homes have a shut-off under the sink or near the toilet. If you can’t find it, shut off the main water supply and take a breath—your future self will thank you.
– Check the obvious spots: leaky handles, loose connections, and worn washers.
– Make a quick shopping list: replacement washers, teflon tape, pipe dope, a new shut-off valve if needed.
– Gather a few tools: adjustable wrench, pliers, screwdriver, bucket, toweling.
Why care about a tiny drip? Small leaks waste water and can wear out fixtures fast. FYI, a dripping faucet can waste up to 20 gallons a day. Not huge, but not tiny either.
DIY fixes for common leaks: faucets and toilets
Leaky faucets and toilets are two of the easiest entry points. They’re annoying more than dangerous, and they don’t require a full remodel.
Dripping faucet? Swap the washer or cartridge
A single, stubborn drop usually means a worn-out washer or cartridge.
– Turn off the water and remove the handle. You’ll see a screw hiding under a cap—pop the cap, then unscrew.
– Inspect the washer or cartridge. If it’s cracked or flattened, replace it with the correct size.
– Reassemble, turn the water back on slowly, and test. If it still drips, you may need a new stem or valve seat.
– Pro tip: take the old washer to the hardware store to ensure you get the right match.
If you’re replacing a cartridge, keep note of the model number or bring the old cartridge to the store. Cartridge replacements are common, but wrong sizing will still drip forever.
Toilet won’t quit running? Check the fill valve and flapper
Toilet woes are deceptively simple.
– Start with the flapper. If it’s warped or dirty, it won’t seal. Replace the flapper; it’s a cheap fix.
– If you still hear water running, inspect the fill valve. Adjust the float so the tank stops at the right water level. If it’s old or corroded, replace the fill valve.
– Quick test: put a few drops of food coloring in the tank. If color appears in the bowl after 15 minutes, you’ve got a leak and likely a faulty flapper.
If you feel like you’re wrestling a stubborn turkey, a plumber can still help—but most of the time, these parts are inexpensive and straightforward to swap.
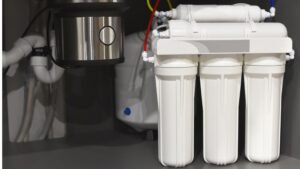
Fixing leaks in pipes and joints: small, steady progress
Pipes rarely explode in one go; they usually start as tiny leaks at joints or fittings. This section covers how to tighten up, seal, and sometimes replace.
Loose connections: tighten or reseal
– Turn off water supply. Dry the joint completely.
– If threads look corroded or worn, apply PTFE tape (teflon tape) or pipe joint compound on the threads.
– Tighten by hand, then snug with a wrench. Don’t over-tighten—that can crack fittings.
– Check for leaks after a slow turn-on.
Slow drip at a copper or PVC joint? Patch it quickly
– For copper: you can use a repair sleeve for a temporary fix or replace the section if you have the skills.
– For PVC: rough up with sandpaper, clean with alcohol, then apply solvent cement per the can’s instructions. Hold steady for the recommended time.
If you’re dealing with a frozen pipe in winter, thaw it safely with a hair dryer or warm towels. Don’t use a torch—fire + water makes bad headlines.
Shut-off valves: your best friends in a pinch
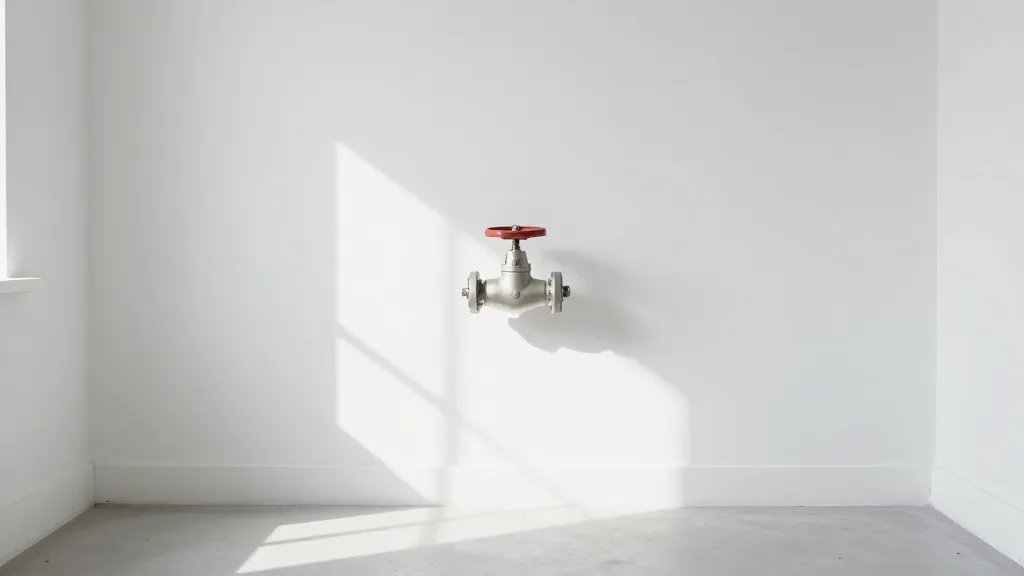
Valves exist so you don’t flood the place while you fix things. If you don’t know where yours are, now’s the time to locate them and test them.
– Find the main shut-off and the individual valves for sinks, toilets, and appliances.
– Test them once a year to ensure they actually close. A valve that’s stiff or leaks is as useless as a screen door on a submarine.
– If a valve leaks or doesn’t close fully, replace it. It’s usually a straightforward swap with a wrench and some plumber’s tape or a compression sleeve.
Why this matters: when a leak hits your floor, you want to isolate it fast. Your future self will thank you for the extra minutes you spent replacing a valve before disaster struck.
Preventive fixes: stop problems before they start
Fixing what’s broken is great, but stopping new issues is even better. Let’s go through some quick preventive steps that can save you a world of headaches.
Keep drains clear without harsh chemicals
– Use a drain screen to catch hair and gunk.
– Pour hot water down monthly to loosen mineral buildup. If you’re in a hard-water area, you’ll thank me later.
– For minor clogs, a plunger or a hand-crank snake works wonders. Avoid chemical drain cleaners; they’re tough on pipes and not friendly to septic systems.
Maintain water pressure and flow
– If your fixtures feel underpowered, check the aerators and showerheads. Unscrew, rinse, and replace if needed.
– Scale buildup in hard water areas? Soak aerators in vinegar for a few hours to dissolve mineral deposits.
– Replace old washers and gaskets every few years to keep things tight and quiet.
What you’ll actually need: a friendly starter toolkit
You don’t need a pirate’s chest of tools to take care of basic fixes. Here’s a lean, practical kit.
– Adjustable wrench, two or three pipe wrenches
– Screwdrivers (flat and Phillips)
– Pliers (slip-joint and locking)
– Teflon tape (PTFE)
– Pipe dope or silicone sealant
– Replacement washers, O-rings, and spares
– Bucket, towels, and a small mop
– Plumber’s snake (a basic hand-crank version)
With this toolkit, you can handle the majority of minor leaks, clogs, and valve issues. If a repair requires cutting into pipe or replacing a wall fixture, then it’s time to call a pro.
Real-life scenarios: quick case studies
Hearing a story can help you visualize what’s possible. Here are a couple of common situations and how you’d tackle them.
The sprinkler line that kept dripping after winter
– Shut off the outdoor/main valve and drain the line.
– Inspect the connection at the irrigation manifold. If the leak’s at a joint, reseal with PTFE tape and tighten.
– If you notice corrosion or a pinhole, replace the affected section of pipe. It’s cheaper and cleaner to DIY than to let it worsen.
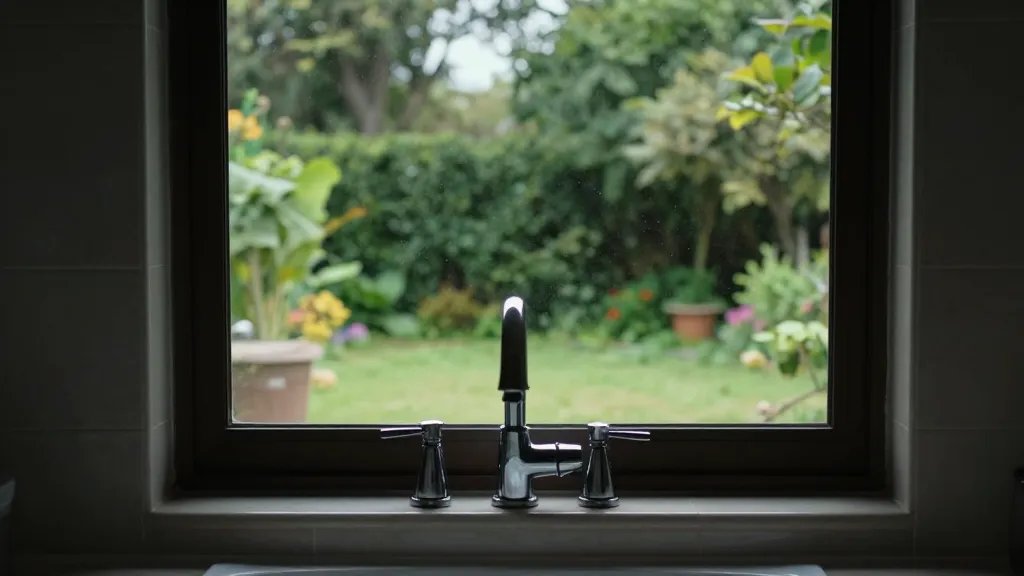
The bathroom sink that sounds like a coffee pot
– Check the faucet aerator first. Remove, soak in vinegar, rinse, and reattach.
– If the drip persists, check the supply lines under the sink. Tighten fittings, replace washers, or swap the supply lines if they’re old.
– Finally, test with the faucet on full—and enjoy a quiet morning routine again.
FAQ: quick answers to common questions
Is it safe for a beginner to fix plumbing leaks?
Yes, many leaks are beginner-friendly. Start by turning off the water and using basic tools. If you ever smell gas, hear hissing, or see a gushing burst, stop and call a pro immediately. When in doubt, it’s smarter to ask for help than to flood your living room.
How do I know when a leak is serious?
If you notice persistent puddles, water stains spreading, mold growth, or alarms from your water meter, take it seriously. A slow drip is manageable, but a leak that won’t quit warrants attention.
Do I need fancy tools or can I improvise?
A basic toolkit covers most fixes. You don’t need a full PEX crimping setup to start. Save the fancy stuff for when you’ve got a real project on your hands.
What about DIY psychology: how to stay sane while fixing stuff?
Plan, take breaks, and don’t rush. Keep a bucket handy for drips, a towel for spills, and a sense of humor for when the drain swallows your favorite sponge. FYI, humor helps you avoid DIY rage.
Can I fix toilets and sinks without turning off the whole house?
Usually yes. Use the local shut-off valve for the fixture to avoid switching off water to the entire home. It minimizes chaos and keeps your bathroom functioning.
What if I break something or it still leaks after I try?
Take a breath. Double-check the parts, consult the manual, or search for a quick tutorial online. If you’ve swapped parts correctly and the problem persists, it’s time to call a plumber. Don’t feel defeated—some plumbing problems are surprisingly stubborn.
Conclusion
You don’t have to be a licensed pro to handle the basics. With a little know-how, a reliable toolkit, and the willingness to follow safety steps, you can fix leaks, tighten fittings, and keep your pipes happy. It’s all about plan, measure, fix, repeat. And remember, if a project starts to feel bigger than your patience, FYI there’s no shame in dialing a professional. You’ll save money in the long run by stopping small issues before they explode into expensive headaches. Now go ahead—give those leaks a friendly knock and reclaim the peace of your water system.