These layouts tackle open plan chaos with style and function. Each option carves out a dining zone without clobbering the flow, so entertaining feels effortless.
1. Islands That Invite Joyful Mingle
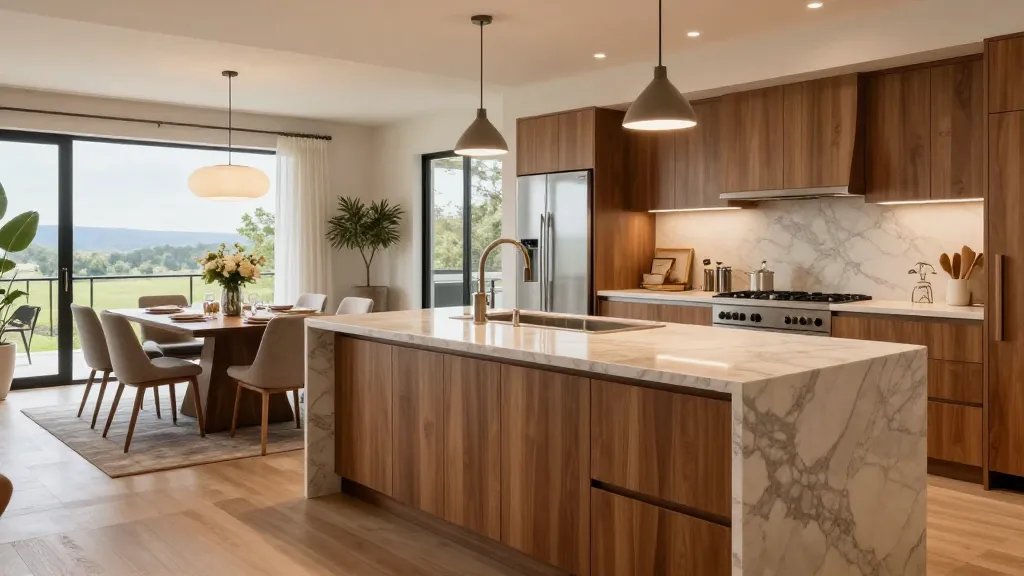
An island isn’t just for kitchen prep anymore—in open plans it acts as a natural divider and social hub. Your dining area remains connected, but defined.
Why it shines: It creates a casual surface for drinks, a quick bite, or homework duty while you chat with guests at the table.
Key Points
- Center an island 42–60 inches from the dining table for easy passage
- Choose a countertop material that complements both zones
- Install pendant lighting over the island to visually separate spaces
Bonus tip: Add a couple of stools on one side for a quick breakfast bar. Seriously, it changes the vibe.
2. Booth Nook, Big-Open-Feel
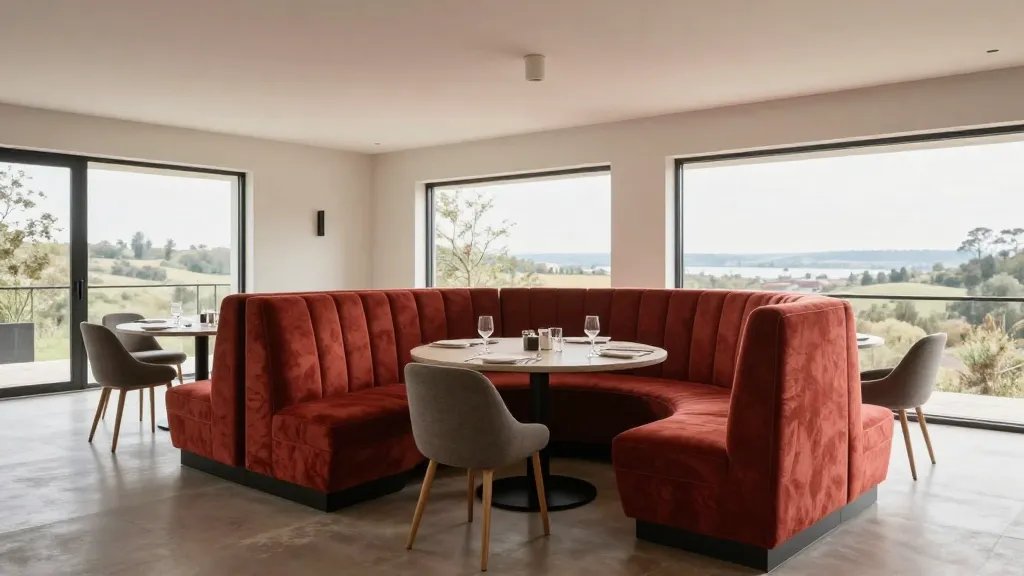
A built-in or freestanding booth creates a snug dining corner within a wide room. It screams coziness without chunking up the floor plan.
What makes it amazing: It anchors a section of the room, making it feel intimate even with lofty ceilings.
Tips
- Use a lightweight table and chairs opposite the booth to keep sightlines open
- Choose a bold upholstery color or pattern for impact
- Shape the booth to fit irregular corners for maximum seating
End note: This setup invites longer dinners and cozy conversations—perfect for families and small gatherings.
3. The Floating Dining Room (With a Soft Boundary)
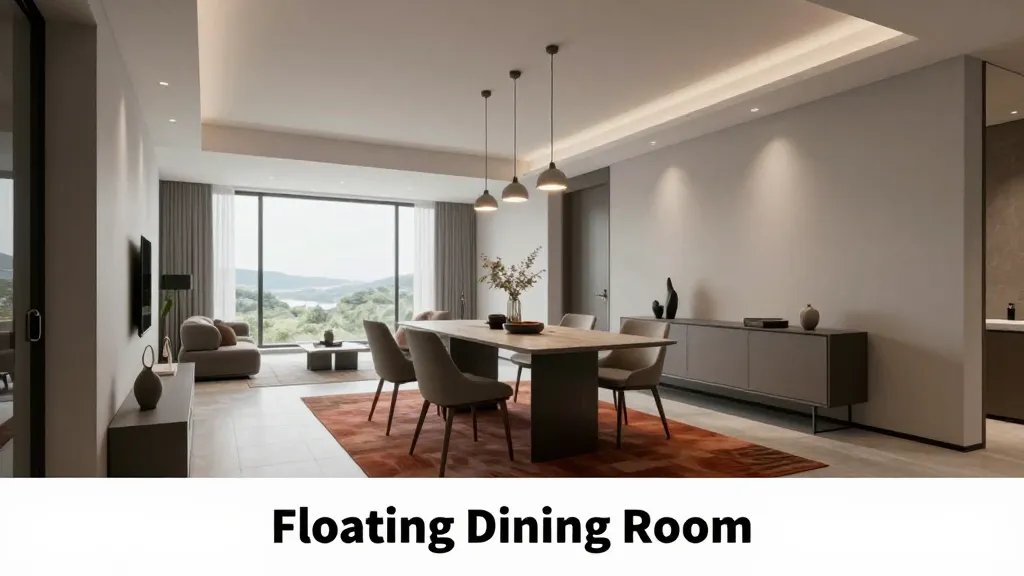
Create separation without walls by using area rugs, light fixtures, and furniture placement. The room breathes while still feeling like a dining zone.
Why it works: Rugs define the space, while open sightlines keep the room social and airy.
Elements to Consider
- A statement rug under the dining table
- Low-profile sideboard or console for surface space
- A pendant cluster that marks the dining zone
Tip: Use color psychology—cool neutrals with a punchy accent color to energize meals.
4. The Console-Table Boundary Hybrid
Stacking a long console behind the dining chairs creates a visual boundary without blocking flow. It doubles as a serving station and display area.
Why you’ll love it: It keeps drinks and apps within arm’s reach for hosts, while guests can chat across the table without peeking around a wall.
Practical Points
- Opt for a console with storage for extra dishes and linens
- Match hardware finishes between the console and dining set
- Place lighting at varying heights to sculpt the space
FYI: It’s especially great in open-plan living rooms that lack built-in zoning.
5. U-Shape Nook: Cozy Yet Open
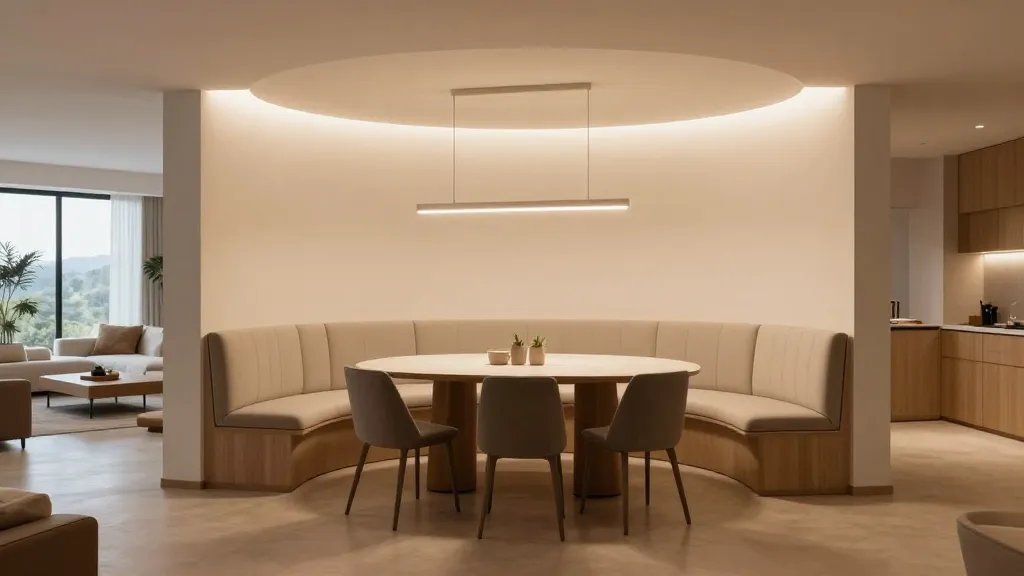
Imagine a soft U around the dining table formed by seating on three sides. It creates a clearly defined dining zone while keeping air and sightlines open.
Why it’s smart: It snugs the diners without crowding legs or elbow space, ideal for long dinners or quick breakfasts.
Key Points
- Three-sided seating arrangement around a central table
- Choose slim, comfortable chairs to avoid crowding
- Add a linear light fixture to emphasize the perimeter
When to use: Great for larger rooms where you want a distinct eating nook without walls.
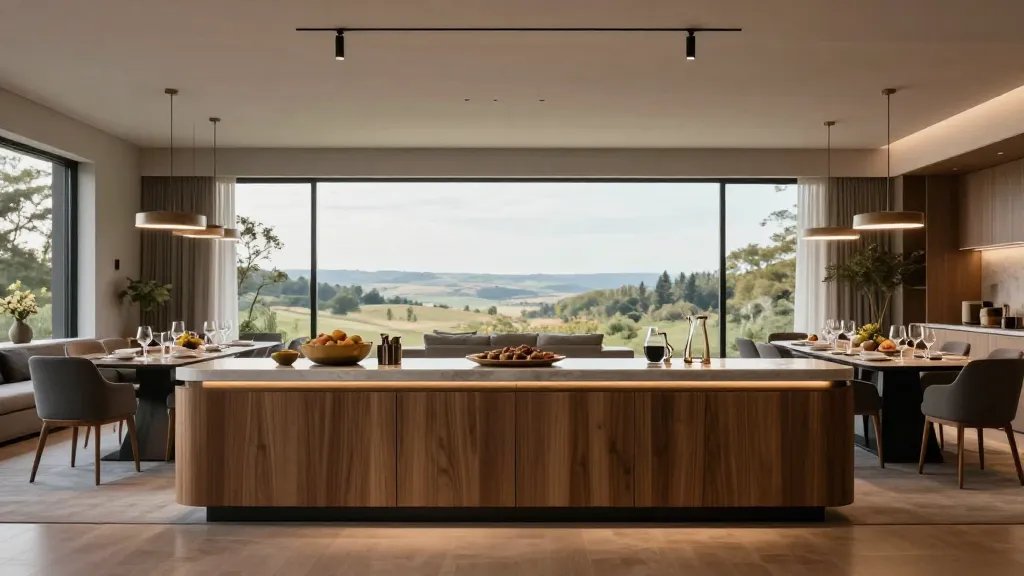
6. The Tandem Layout: Dining Right Beside Living
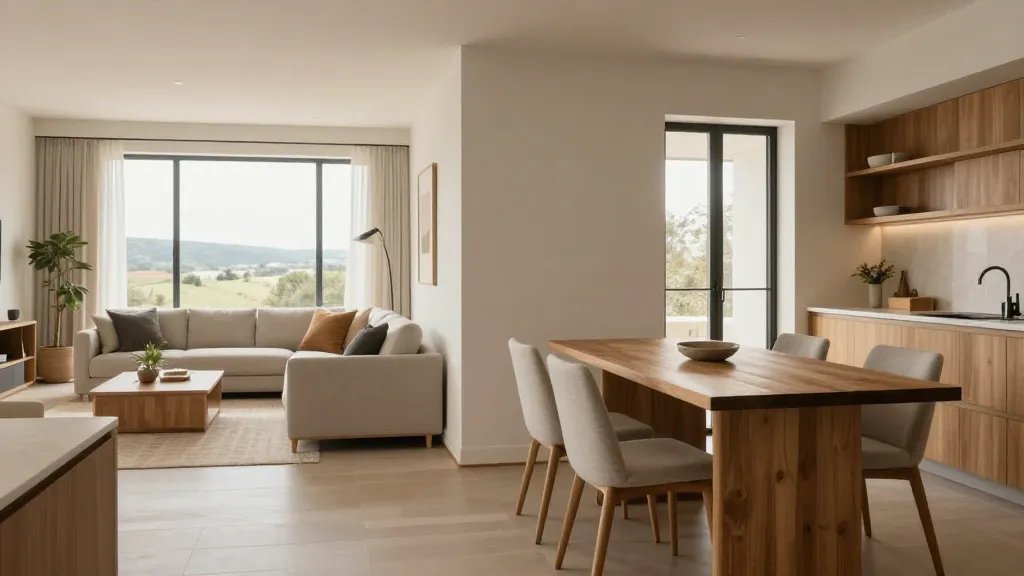
Place the dining table adjacent to the living area, separated by furniture rhythm rather than a wall. This keeps conversations flowing and makes the open plan feel intentional.
Why it’s cool: It mirrors real life—people cooking in the kitchen, lounging in the living room, and dining with ease all in one space.
How to pull it off
- Align the dining table with a sofa or a pair of chairs to create natural flow
- Use a shared color palette to tie zones together
- Incorporate a slim console that visually divides without closing off
Bottom line: The tandem layout is the ultimate “I want an open plan but still want defined zones” move.
7. Panoramic Dining with a Semi-Transparent Screen
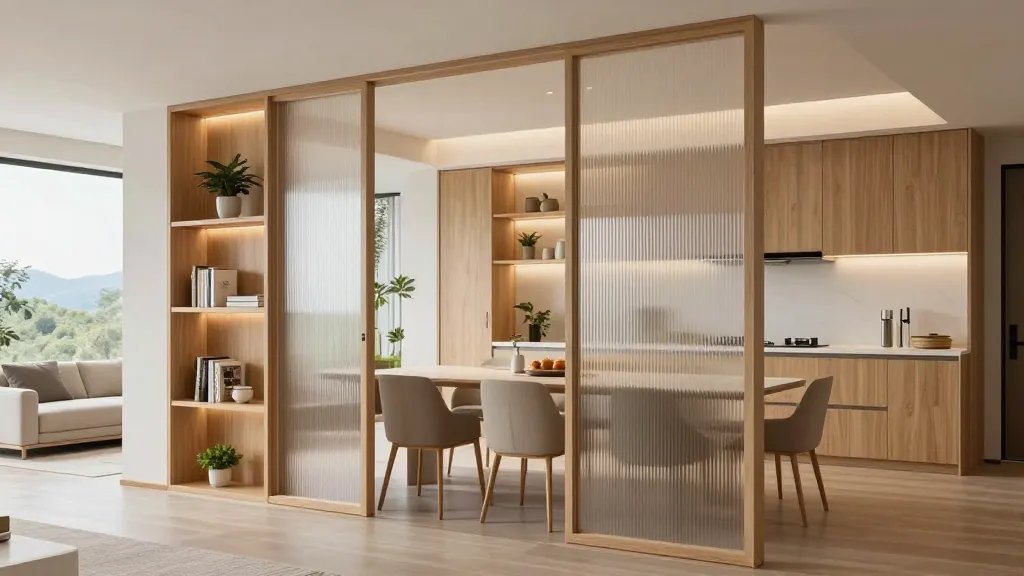
A light, semi-transparent screen (think framed shelving, slatted panels, or a low bookcase) slices the space without blocking light or sightlines.
Why it’s worth trying: It gently nudges the dining zone forward while keeping the room airy and connected.
Smart Details
- Shelving that doubles as a display for plants and keeps clutter down
- Use materials that echo kitchen cabinetry or living room furniture
- Backlighting behind shelves for a soft, ambient glow
Use this when you crave separation but not heaviness. Trust me, it’s a crowd-pleaser.
8. The L-Shaped Dining Enclave
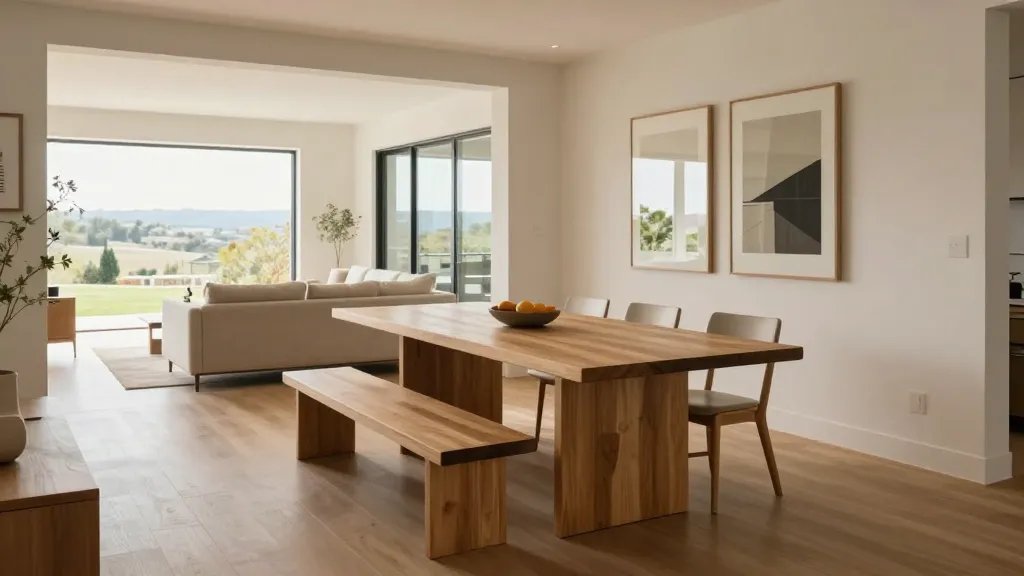
Turn a corner into a dedicated dining enclave by tucking a table into an L-shaped footprint. It creates a natural boundary and directional flow.
Why it shines: It optimizes awkward corners and gives you a crisp dining axis without slicing the room in half.
How to style
- Pair the table with a bench on one side to save space
- Use artwork or a large mirror on the adjacent wall to reflect light
- Choose chairs that tuck neatly under the table for a tidy silhouette
Bonus: This layout adapts easily to small apartments or open kitchens where space is premium.
Ready to mix and match? These eight layouts prove you don’t need walls to design a dining area that feels both defined and spacious. FYI, start with measuring your space, then sketch where you’ll place furniture to see how the eye moves through the room.
Conclusion: Give one of these a try and watch the room come alive with conversation and ease. You’ve got this—your open plan will finally feel curated, not chaotic.