If you’ve ever owned a beautiful piece of wooden furniture or installed wooden flooring, you know how devastating water damage can be.
Whether it’s a small spill you forgot to clean up, a sneaky leak you didn’t notice, or a full-blown flood, water can wreak havoc on wood. But don’t worry—it’s not the end of the world or your wood.
In this guide, I’ll show you exactly how to repair water damaged wood step by step. We’ll explore why water damage happens, how to fix it, and what you can do to prevent it in the future. Whether you’re dealing with a warped floorboard or a stained table, I’ve got your back. Let’s dive in!
Understanding Water Damage on Wood
What Happens to Wood When It Gets Wet?
Wood is a natural, porous material, which means it loves to soak up water like a sponge. The result? Swelling, warping, discoloration, and, if left unchecked, mold growth. Over time, this can compromise the structural integrity of the wood.

The extent of damage depends on the type of wood. Hardwood is generally more resilient, while softwood can become soft, spongy, and prone to crumbling.
Causes of Wood Damage from Water
- Leaks: Dripping pipes or roof leaks often go unnoticed until the damage is done.
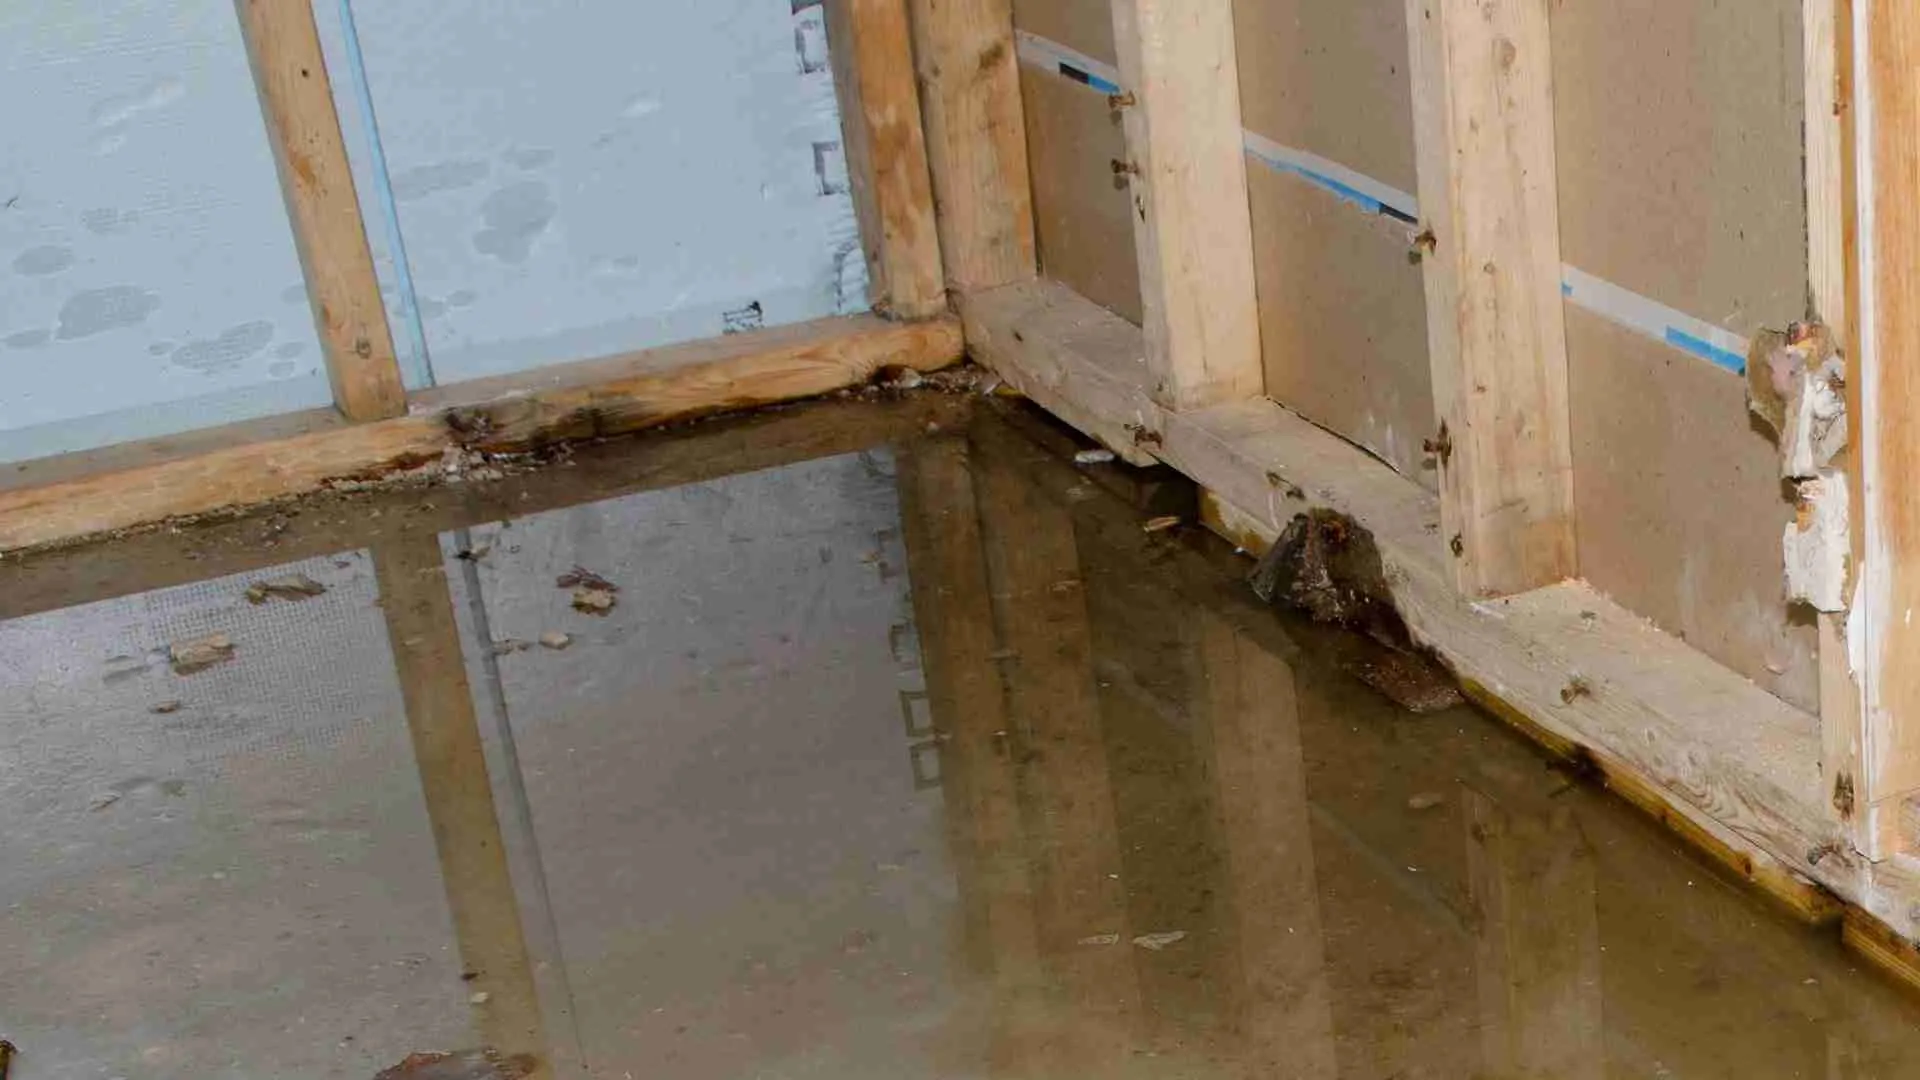
- Flooding: A burst pipe or heavy rainfall can leave wood submerged, leading to extensive damage.
- Humidity: Excess moisture in the air can slowly cause wood to warp and swell, particularly in bathrooms or basements.
Why You Should Act Quickly
Here’s the thing about water damage—it’s a ticking time bomb. The longer you wait, the worse it gets. Mold can develop within 24-48 hours, and wood can lose its structural strength if left wet for too long. Acting fast is crucial to salvage your beloved woodwork.
Assessing the Damage
Visual Inspection
Start by taking a good, hard look at the affected area. Signs of water damaged wood include:
- Swelling or warping.
- Discoloration (dark spots or white streaks).
- Surface irregularities, like bubbling or peeling.
Structural Integrity
Give the wood a gentle tap or press down on it. If it feels soft, spongy, or hollow, the damage might be more severe than it looks.
Tools for Assessment
If you want to get technical, a moisture meter can help you determine just how wet the wood is. Anything above 20% moisture content indicates trouble.
How to Repair Water Damaged Wood – Step-by-Step
Step 1: Dry the Wood
The first step in learning how to repair water damaged wood is to dry it thoroughly.
- Air-drying: Open windows, turn on fans, and let nature do its thing.
- Dehumidifiers: Great for enclosed spaces like basements.
- Avoid heat sources: Using a hairdryer or heater can dry the wood too quickly, causing it to crack.
Step 2: Remove Surface Stains and Mold
If there’s mold or discoloration, mix equal parts water and vinegar in a spray bottle. Gently scrub the surface with a soft cloth or sponge. For tougher stains, use a specialized wood cleaner.
Step 3: Sand the Surface
Use medium-grit sandpaper to remove the top layer of damaged wood. Gradually switch to finer grits to smooth the surface. Take it slow—over-sanding can weaken the wood.
Step 4: Repair Cracks or Warps
- Cracks: Fill them with wood filler or epoxy resin. Let it dry completely before sanding it down to match the surface.
- Warps: Clamp the wood flat or use weights to reshape it. This might take a few days, so patience is key.
Step 5: Refinish and Protect
Once the wood is repaired, it’s time to restore its beauty.
- Stain: Choose a color that matches the original wood.
- Seal: Apply a waterproof sealant to protect against future spills or moisture.
Specialized Cases of Water Damage
Wooden Furniture
Dealing with a warped table leg or a bubbled veneer? Sanding, filling, and clamping can often save the day. Don’t forget to refinish for that brand-new look.
Wooden Floors
Floorboards can buckle or cup when exposed to water. Replace individual planks if necessary, but sanding and resealing can often restore their appearance.
Outdoor Wood (Decks and Fences)
Outdoor wood faces the wrath of rain, snow, and humidity. Regular sealing and weatherproofing are crucial to keeping it in good shape.
Common Mistakes to Avoid
Ignoring the Root Cause
There’s no point in fixing water damaged wood if you haven’t addressed the source of the problem. Whether it’s a leaky pipe or poor ventilation, fix it first.
Over-Sanding
Too much sanding can thin out the wood, weakening it beyond repair. Go slow and steady.
Skipping Mold Treatment
Mold isn’t just unsightly—it’s a health hazard. Always treat and remove it thoroughly before moving on to repairs.
Ask a question and get an answer from a home repair expert on HomeFix
Preventing Water Damage in the Future
Regular Maintenance
Clean and reseal wooden surfaces regularly, especially those exposed to moisture.
Using Water-Resistant Products
Invest in high-quality sealants, paints, and finishes designed to repel water.
Protecting Indoor and Outdoor Wood
- Indoors: Use coasters, fix leaks promptly, and control humidity levels.
- Outdoors: Cover furniture during bad weather and ensure proper drainage around decks and fences.
FAQs About Water Damaged Wood
- How do I know if the wood is beyond repair?
If the wood crumbles or feels hollow, it might be time to replace it. - Can I use household tools to fix water damaged wood?
Yes! Sandpaper, vinegar, and clamps are common household items that work wonders. - Is it safe to repair wood with mold?
Yes, but wear protective gear and treat the mold thoroughly. - How long does it take to repair water damaged wood?
Drying alone can take a few days, and the entire process might stretch to a week or more. - What’s the best way to prevent wood damage from water?
Seal it regularly, fix leaks promptly, and control humidity.
Conclusion
And there you have it! Now you know how to repair water damaged wood, whether it’s a cherished piece of furniture or your home’s floors.
Acting quickly, following the right steps, and using quality products can make all the difference.
Water damage doesn’t have to mean the end of your beautiful wooden items. With a little effort, you can bring them back to life—and maybe even give them a story to tell.
Have you ever dealt with water damaged wood? Share your tips and tricks in the comments—I’d love to hear how you tackled the challenge!