Short intro: Let’s cut to the chase— bathroom reno mistakes cost time, money, and your sanity. If you’re diving into a remodel, you don’t want to learn the hard way after the fact. Here’s the straight talk on what to avoid, with real-talk fixes you can actually use.
Not budgeting like an adult from the start
We all love a good dream bathroom, but dreams cost money—often more than you expect. Do you know your total budget, including surprises? Most people don’t.
– Set a hard ceiling and a contingency (think 10–20%) for things you can’t predict, like water damage or hidden plumbing.
– Break the budget into categories: plumbing, fixtures, tile, vanity, electrical, and labor.
– Prioritize must-haves over nice-to-haves. Do you really need a heated towel rack, or would a fluffy robe be enough?
- Know where every dollar goes
- Include a contingency and stick to it
- Reuse or repurpose where possible to save
FYI: The most common overruns happen when people skimp on rough plumbing or elect to DIY something that a pro should handle. Don’t be stubborn about code compliance.
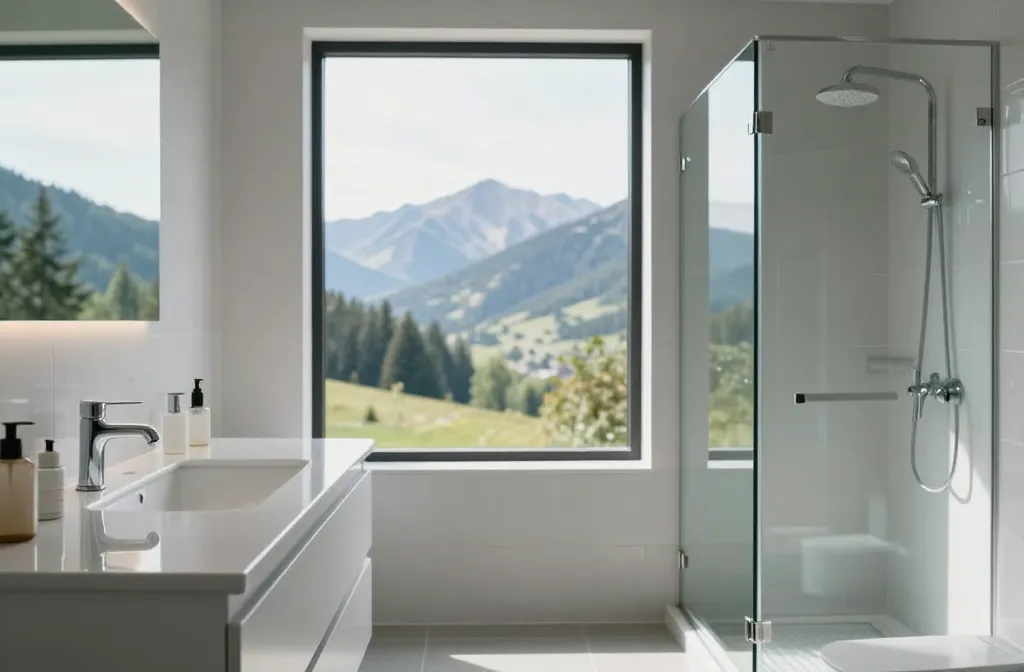
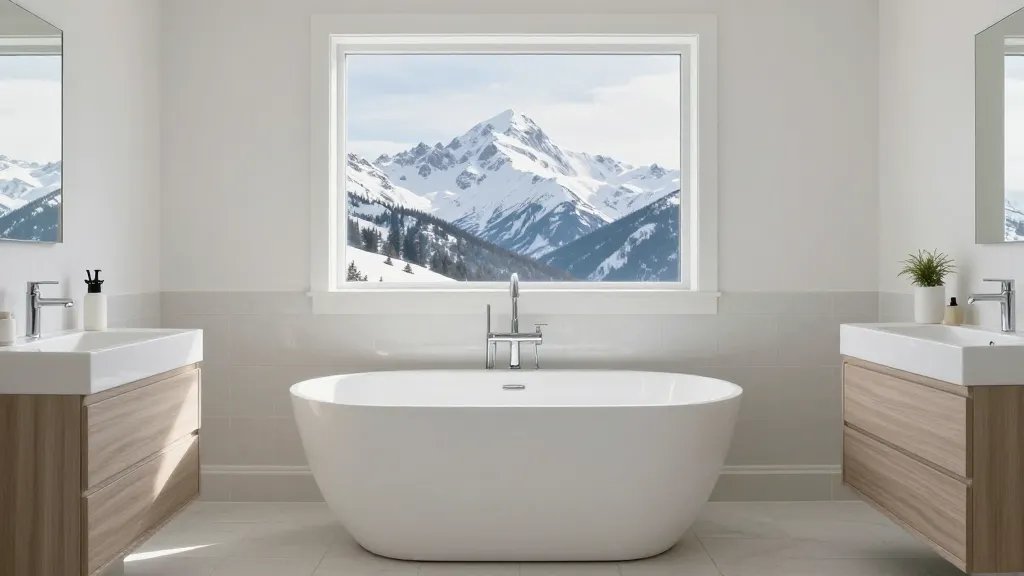
Choosing the wrong fixtures for your space
Fixtures set the vibe, but they also determine practicality. Aesthetics are great, but if the light is dim and the shower has poor water pressure, you’ll regret the pretty tile.
– Shower vs. tub combo: Do you actually take baths or are you a shower enthusiast? If it’s the latter, a walk-in shower with a proper bench and niche is happier, easier to clean, and more future-proof.
– Size matters: Oversized vanities crowd the space; tiny sinks feel cramped. Measure ceiling height, doorway clearance, and knee-room under the vanity.
– Water efficiency: Low-flow fixtures save money over time, but ensure you don’t sacrifice pressure or user experience. Test fittings in-store if possible.
Poor waterproofing and moisture management
This is the big one. Water does not play nicely with poorly sealed spaces. If you don’t nail this, you’ll be staring at mold long after the pretty tile has paid for itself in memories.
– Use a proper waterproof membrane on floors and walls behind tile, not just a spray-on myth.
– Install a reliable, well-placed shower pan and curb. Sloping toward the drain is non-negotiable.
– Ventilation matters: an exhaust fan should remove moisture effectively, and consider a humidity-sensing model if your shower habits are epic.
– Seal joints properly with mildew-resistant grout and silicone where water meets fixtures.
- Waterproofing first, aesthetics second
- Ventilation that actually works
- Regular maintenance to catch leaks early
Moisture-proofing deeper dive
If you’ve ever painted over a water stain only to see it come back, you know moisture won’t be polite. Use a cement-based waterproofing layer for wet areas and test for leaks before tiling.
– Apply two coats of waterproof membrane in showers and tub surrounds.
– Use cement board behind tile in wet zones, not ordinary drywall.
– Check moisture levels with a gauge during construction to catch hidden dampness early.
Underestimating plumbing and electrical complexity
This isn’t a DIY-friendly sci-fi project unless you’re an experienced pro. Mess with plumbing or wiring, and you’re likely to regret it.
– Plan for shutoffs and access: Know where every valve and breaker is, and label them clearly.
– Don’t hide plumbing behind fancy boards. If pipes are aging, replace them now to avoid leaks later.
– GFCI outlets where water is present. It’s not just a safety feature; it prevents future electrical headaches.
IMO, wiring a dimmer into a non-compatible circuit is one of the most annoying fails. Double-check compatibility before you buy.
How to scope electrical correctly
– Create a load plan: run calculations for outlets, lighting circuits, and vent fans.
– Separate circuits for heavy loads (heated floors) from lighting.
– Plan for future tech: dimmable LEDs, smart switches, and mirrors with integrated lighting.
Lighting that’s more mood-killer than mood-builder
Lighting can make or break a bathroom. Harsh overheads, ya basic. Layered lighting creates a spa-like vibe that’s actually usable.
– Layer three types of light: ambient, task, and accent. Think ceiling, vanity, and subtle wall lighting.
– Vanities need flattering lighting—avoid lights that cast unflattering shadows on your face.
– Color temperature matters: 2700K–3000K feels warm; 4000K is crisp and modern for task work. Pick one and stay consistent.
Vanity lighting tips
– Use sconces on either side of the mirror to avoid shadows.
– A light around 60–80 watts equivalent per side is often comfortable for makeup or grooming.
– Dimmable options let you switch from morning boost to relaxing evening.
Avoiding tile and material sabotage

Tile is gorgeous, but it’s not magic. Poor layout, wrong grout, or slippery floors wreck the experience.
– Plan for grout lines: Larger tiles reduce lines, but you need to consider substrate flatness. Uneven walls = cracked tiles.
– Choose slip-resistant floor tiles for safety. Don’t skip this step because you hate buying “ugly” safety tiles.
– Sealing matters: some tiles require sealing; others don’t. Know what you’ve got and seal accordingly.
- Flat surfaces first, then tile layout
- Grout choice affects maintenance
- Sealing saves you from stinky grout molds
Grout and sealant nitty-gritty
– Epoxy grout resists stains far better than cement-based grout, but it’s pricier and a bit trickier to apply.
– Use color-matched or slightly lighter grout to minimize showing dirt in high-use areas.
– Re-seal porous tiles and grout every year or two depending on wear and immersion in water.
Skimping on storage and function
A beautiful bathroom that feels like a showroom but lacks real storage quickly becomes clutter central.
– Plan for enough storage: medicine cabinets, vertical storage, and vanity with drawers.
– Think about dry space for towels and toiletries near the shower, not far from the cabinet.
– Use pull-out organizers and dividers to keep things tidy. The clean look is easier when everything has a place.
Smart storage strategies
– Build a recessed niche in the shower for shampoo and soap—don’t stack bottles on the curb.
– Use tall, slim cabinets that don’t overwhelm the room.
– Consider hooks and towel bars that don’t break the visual flow of the space.
Forgetting accessibility and future-proofing
Bathrooms end up being used by everyone—guests, kids, aging relatives. If you skip accessibility considerations, you’ll regret it later.
– Plan for easier entry: zero-threshold showers or minimal-step showers help a lot.
– Adjustable-height fixtures or handheld showerheads make life easier for everyone.
– Grab bars in strategic places aren’t glamorous, but they’re essential for safety as plans change.
Future-proofing ideas
– Consider a wider doorway if you’re redesigning, to accommodate wheelchairs or walkers.
– Choose durable, easy-to-clean materials that tolerate humidity and heavy use.
– Leave space for a potential smart mirror or heated surfaces if you’re into future upgrades.
FAQ
How long should a bathroom renovation normally take?
Renovations vary a lot, but plan on anywhere from 2 to 6 weeks for a full gut job, depending on plumbing, electrical complexity, and tile work. If you’re adding a vent fan or rerouting plumbing, expect the timeline to stretch.
Do I really need a professional for waterproofing?
Yes. Waterproofing is not a DIY area where you can “wing it.” Improper membrane installation leads to leaks, mold, and costly repairs down the line. Hire a pro or at least consult one before you start.
Is epoxy grout worth it?
Epoxy grout lasts longer and resists staining, but it’s harder to apply and costs more. If you’re doing a lot of natural stone or high-traffic wet areas, epoxy can be a smart pick. Otherwise, a high-quality cementitious grout with a good sealant works well.
What’s the best way to handle lighting in a small bathroom?
Layer lighting (ambient, task, and accent) helps a small space feel larger and more usable. Use vanity lighting that minimizes shadows, and add a frosted overhead or mirror light to brighten evenly. A dimmer switch is a simple upgrade that makes everything more flexible.
How can I reduce bathroom moisture without sacrificing comfort?
Install a solid exhaust fan with good CFM for the space, and ensure it vents to the outside (not into the attic). Use moisture-resistant paint on walls, a proper tile seal, and keep a window open when possible to aid air exchange. FYI, a little daily ventilation goes a long way.
Conclusion
Renovating a bathroom is a mix of dream and discipline. If you plan budgets, pick fixtures that actually fit the space, waterproof properly, and respect the plumbing and electrical skeleton behind the walls, you’ll save headaches—and money—in the long run. The goal isn’t just a stunning bath; it’s a space that works hard for you every day. Ready to design with eyes wide open and a dash of humor? You’ve got this.