The clock starts ticking the moment tenants hand over the keys. You want a spotless, move-in ready space that makes the new arrivals smile and the landlord smug. Let’s cut to the chase with a professional cleaning checklist that actually works in the real world—no fluff, lots of sparkle.
Why a solid pre-move-in clean matters more than you think
You might think a quick wipe-down is enough, but this is the moment people judge a home. A thorough clean sets expectations, protects your property, and saves you endless conversations about “the smell” or “the dust bunnies.” FYI, a top-to-bottom clean can shorten vacancy time and boost tenant satisfaction before they even unpack.
Start with a plan: the big sweep of the checklist
Before you grab a mop, map out the job. Create a simple task list, assign responsibilities, and set a realistic timeline. A plan keeps the chaos away and helps you stay consistent across units.
Setup and organization
– Gather supplies: microfiber cloths, a vacuum with attachments, floor cleaner, all-purpose spray, disinfectant, glass cleaner, sponges, trash bags, and a ladder if needed.
– Protect the space: cover vents, seal off areas with sensitive finishes, and keep kids and pets away during the deep clean.
– Create a routine cue: a quick checklist on a clipboard or a clean doc on your phone to tick off as you go.
Living areas first: surface scuffs, floors, and feel
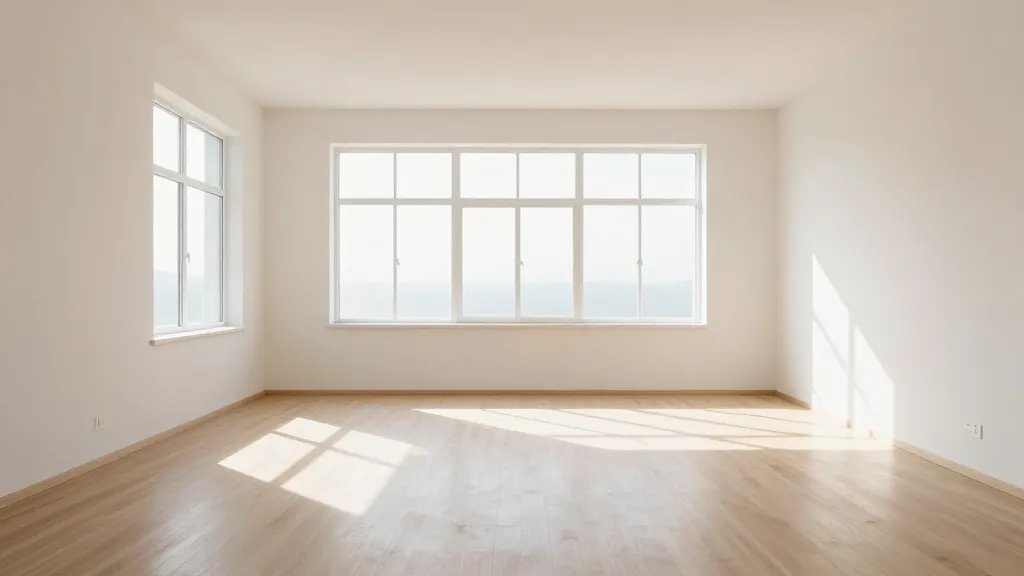
The living room and common areas set the tone. You want a fresh, airy vibe that invites people to imagine themselves living there.
- Dust and wipe all surfaces from high shelves to baseboards. Don’t forget ceiling fans and returns on light fixtures.
- Clean floors thoroughly — vacuum carpets and mop hard floors. If you have area rugs, shake out and vacuum them too.
- Polish glass and mirrors for that “new condo” sheen.
Hidden grime, visible results
Dust hides in nooks. Don’t skip behind picture frames, under electronics, or inside window tracks. A quick magnetic-stick duster can work wonders here and save you from later “gross behind the TV” notes.
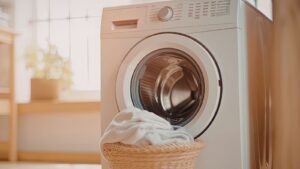
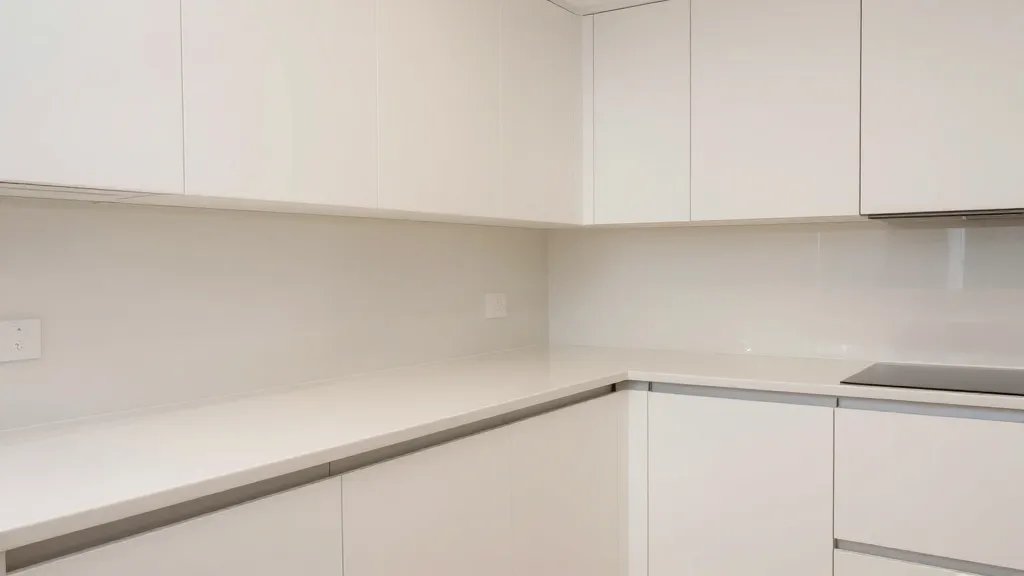
Kitchen: the showstopper you can’t ignore
The kitchen is where “wow” or “meh” happens. It needs a no-nonsense clean that covers every surface, appliance, and corner.
- Countertops and cabinets wipe inside and out where you can reach. Remove fingerprints and smudges from stainless appliances.
- Sink and faucet scrub away grime, check for leaks, and shine the chrome until it gleams.
- Oven, range, and hood clean thoroughly. Wipe the backsplash, wipe the handles, and remove built-up grease.
- Fridge and freezer empty, wipe shelves, and wipe the door seals. If you’re mid-lease, consider unplug-and-clean for a no-fuss finish.
- Floors sweep and mop. Pay attention to corners and behind appliances if you can lift them safely.
What about appliances that aren’t being replaced?
If you’re not swapping out appliances, give them a deep clean so tenants don’t discover a surprise “mystery stain” in the crisper. FYI, a quick run-through of the oven’s self-clean setting can help, but never force-clean without checking manufacturer recommendations.
Bathrooms: the true deal-breaker
Bathrooms sell homes. A sparkling bath says “maintenance this place is cared for.” No excuses here.
- Toilets sanitize from seat hinges to bowls. Don’t miss the underside of the seat and the hinges.
- Showers and tubs remove soap scum, grime on grout, and mold in corners. Re-caulk if necessary and feasible.
- Sinks and countertops wipe down, polish fixtures, and remove toothpaste buildup from mirrors.
- Floors clean, especially around the toilet base where dust and hair tend to hide.
Roll up your sleeves for the grout and tiles
Grout can be stubborn. Use a designated grout brush or old toothbrush to scrub lines, then rinse. If you’re dealing with stubborn mold, a bleach solution (or a designated mold cleaner) can do wonders—but follow safety guidelines and ventilate.
Bedrooms: calm spaces that welcome a fresh start
Bedrooms should feel inviting, not sterile, but clean and orderly is non-negotiable.
- Vacuum and mop floors, paying attention to edges and corners where dust loves to hide.
- Closets and built-ins wipe shelves, vacuum the floors inside, and leave them smelling clean rather than stale.
- Bedding and soft furnishings if included in the rental, launder or replace as needed. You don’t want a musty welcome mat for new tenants.
Windows, doors, and light fixtures: the visible finish
Clean glass windows not only looks inviting; it also makes the space feel bigger. Don’t skip the doors, frames, and hardware.
- Windows wash both sides if possible or at least the interior. Don’t forget sills and tracks where dust collects.
- Doors and frames wipe down scuffs, fingerprints, and hinge areas. Lubricate hinges if they squeak—polish with a microfiber for a final shine.
- Light fixtures and switches dust and wipe. Replace any burnt-out bulbs to avoid a “dark dungeon” vibe during move-in.
Final touches that actually matter
The last stretch is all about those finishing details that push a place from clean to “show-ready.”
- Trash and recyclables removed, bins wiped, lids on. No mysteries left behind.
- Odor control air out, use light fragrance if allowed, and consider a quick deodorizing spray on fabrics away from living areas.
- Ventilation and HVAC replace or clean filters if you’re able. Fresh air for the new tenants is worth the effort.
When to use pro help vs DIY
Not every unit will require a professional crew, but some scenarios scream for it. If you’re juggling multiple units, tight deadlines, or dealing with heavy grime, a pro-clean can save you headaches and time. For standard turnover cleans, a strong DIY routine with a dependable checklist can do the job well.
Red flags to consider
– Persistent odors after cleaning attempts
– Mold growth or leaks that require professional remediation
– Large-scale appliance removal or disposal needs
– Floors or walls needing specialist care (vinyl, tile with extensive grout damage)
Safety and compliance: keep it clean and compliant
Cleaning is not just about aesthetics; it’s about safety and compliance with local rental codes and landlord-tenant agreements.
- Wear gloves and protective eyewear when using harsh cleaners.
- Ventilate well. Open windows, use fans, and avoid mixing cleaners that can create toxic fumes.
- Follow label directions and store chemicals safely away from children and pets.
FAQ
How long does a standard move-in clean take?
A typical apartment can take 3–6 hours for a thorough turn-around if you’re doing it solo. If you’re juggling multiple units or more extensive tasks, add 1–2 hours per unit to your estimate. Plan for a margin—things tend to expand when you start seeing all the little corners.
What should I prioritize in a tight timeline?
Prioritize kitchens, bathrooms, and floors. Those are the zones that matter most to tenants. If you’re pressed for time, at a minimum ensure easy-to-clean surfaces are spotless, and exhaust fans or vents aren’t clogged.
Do I need to replace all windows for a move-in?
Not necessarily. Clean inside and out if accessible, but replacement isn’t required unless the glass is damaged or cracked. Fresh-looking windows can make a big impression without the cost of replacements.
How do I handle stubborn grout and tile grime?
Use a dedicated grout brush and a trusted cleaner designed for grout. Let it sit for a few minutes to break down the grime, then scrub. Rinse thoroughly. For heavy staining, you may need a professional-grade grout cleaner or a small amount of bleach solution, following safety guidelines.
What if I discover mold during the clean?
Stop and assess. Small, contained mold requires proper remediation. If you’re unsure, contact a professional. If it’s in a fixture or behind a wall, treat as a potential hazard and move quickly to resolve it with expert help.
Conclusion
There you have it—a practical, no-fluff professional cleaning checklist that actually gets you to a move-in-ready state. The goal isn’t perfection; it’s consistency, efficiency, and giving tenants a space that feels cared for from the first moment they step in. IMO, a little planning goes a long way, and a good clean is the easiest form of good first impressions.
If you want to take this to the next level, consider a standardized pre-move-in cleaning kit for your team or yourself. Bonus points for a simple digital checklist you can share with contractors or roommates. FYI, a tidy unit is not just about appearances—it helps you reduce disputes, speed up turnover, and keep your properties in better shape long-term. Now go grab those cleaning sprays and get to work—the next tenant is waiting to fall in love with a space you made shine.