
PremiumPropertyDirect.co.uk relies on reader support. Purchases made via links on our website may earn us an affiliate commission at no extra cost to you, helping keep the site running.
The fanciest tool in the shop is rarely the one that saves a Saturday.
A cabinet door that won’t close properly might need a screwdriver and five minutes. Putting up a shelf takes a little more: a tape measure, pencil, level, drill, and the right bits for the wall fixings. Those jobs make a better shopping list than a fully stocked toolbox.
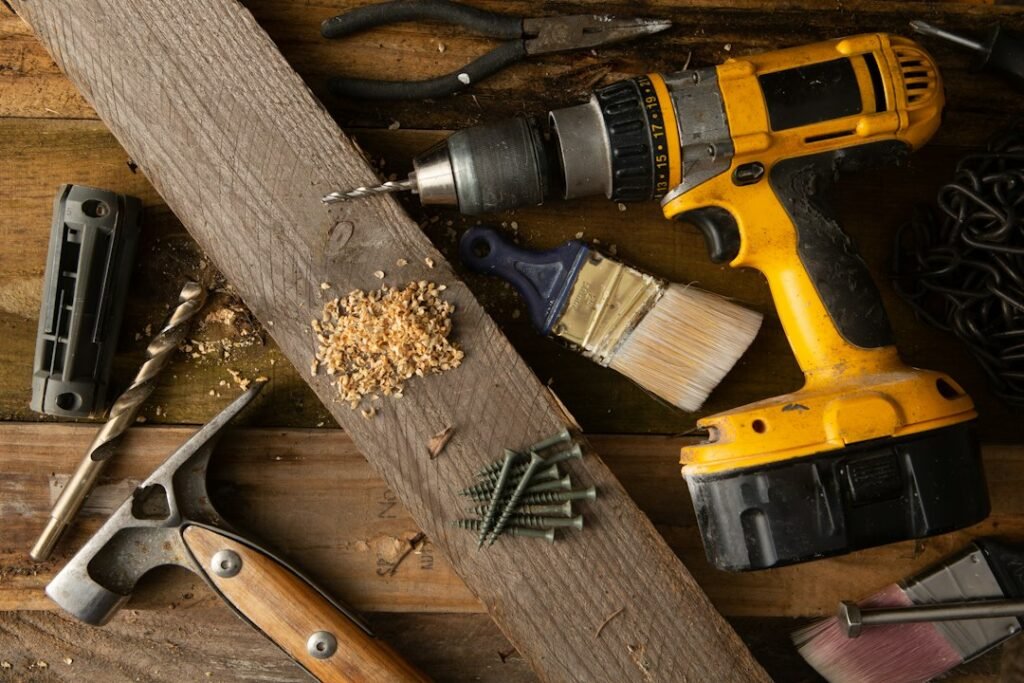
For most small repairs, a screwdriver with interchangeable bits, a claw hammer, pliers, and a utility knife are a practical starting point. Add safety glasses before drilling or cutting. Tools can be bought as jobs come up, which leaves room to choose the right size and type instead of paying for pieces that stay untouched.
Start with the tools used most often
A useful starter kit fits in a small toolbox. It covers loose handles, crooked pictures, sticking cabinet doors, and other little jobs that rarely justify buying a specialized tool.
- Tape measure: Checks the space for a replacement shelf, curtain rod, or appliance before anything is bought or cut. A locking tape makes measurements easier to read.
- Level: Keeps picture frames, towel bars, and shelves straight. A short level is handy in tight spaces; it can also check whether a washing machine is sitting evenly.
- Hammer: Drives nails for light-duty hanging and taps small parts into place. Its claw pulls a misplaced nail back out.
- Screwdrivers: Tighten loose cabinet hinges, switch plates, and furniture hardware. Keep both Phillips and flathead types, with tips that fit the screws snugly.
- Pliers: Grip a stubborn nail, bend a small wire, or hold a nut while a bolt is tightened. Needle-nose pliers are especially useful in narrow spots.
- Adjustable wrench: Turns nuts on furniture, fixtures, and other household hardware when a fixed-size wrench is unavailable. Set the jaws closely around the nut to avoid slipping.
- Utility knife: Scores caulk before removal and cuts cardboard or other light materials. A sharp blade needs less force than a dull one; retract it after use.
- Assorted fasteners: A small box of common screws, nails, and wall anchors saves a trip to the store. Choose anchors rated for the wall and the item being hung.
Add specialty tools only when a job calls for them. A stud finder, for example, helps locate framing before mounting a heavy shelf. Safety glasses belong in the basic kit, not on a someday list. For work above floor level, use a stable step stool or ladder on firm ground rather than a chair.
Start with a cordless drill
A cordless drill can make pilot holes, drive screws, and assemble flat-pack furniture. That covers more early repair jobs than buying several power tools at once. For a curtain rod or cabinet hinge, the same drill can make the hole and then turn the screw.
The adjustable clutch helps prevent a screw from sinking too far. Start at a low setting and increase it if the drill stops before the screw sits flush; use drill mode for holes. Testing on scrap wood takes some guesswork out of the setting.
An impact driver is handy for driving lots of long screws into dense wood, but it can wait until that work comes up regularly. A small set of sharp bits will see more use around the house than a large accessory case full of unfamiliar pieces.
- Comfortable weight
Hold the drill as if working above shoulder height. A compact model is easier to control during small repairs.
Look forA balanced grip that feels steady in one handAvoidA heavy tool bought only for its power rating - Adjustable clutch
Numbered settings limit the force used to turn screws, which helps protect small fasteners and soft wood.
Look forClear settings plus a separate drill modeAvoidA drill with no practical way to limit driving force - Suitable battery
For light household work, a compact battery often keeps the drill more comfortable than a large-capacity pack.
Look forEnough charge for typical jobs without excess weightAvoidChoosing the biggest battery by default - Useful bits
Start with common screw-driving bits and a few drill bits suited to the materials being drilled.
Look forBits that fit the screws and materials at handAvoidOversized bundles with many rarely used pieces
Mark the spot before drilling
A drill makes quick work of fastening, but it cannot fix a hole in the wrong place. Mark each screw position with a pencil, then check the spacing and level before picking up the drill. For a shelf bracket, hold the bracket against the marks first: its holes should line up without forcing it sideways.
Choose a bit for the material, not just the screw. A wood bit cuts wood cleanly; masonry needs a masonry bit and an appropriate drill setting. For driving, use a bit that fits the screw head snugly. A loose driver bit can slip, chew up the head, and make a simple repair frustrating.
In wood, a pilot hole gives the screw a path and reduces the chance of splitting, especially near an edge. Its diameter should generally be close to the screw’s solid center, leaving the threads to grip the wood. The pilot-hole sizing steps for wood screws help with that choice.
Before driving the screw, set the drill’s clutch low and increase it only if the screw stops short. The clutch helps prevent the screw from sinking too far or stripping its grip; choosing a clutch setting for screws explains how to adjust it. Try the pilot hole and clutch setting on scrap wood first, where a small mistake will not show.
Add a saw only when the job calls for one
A loose hinge, sticking drawer, or new towel bar usually needs no cutting. Trim repairs and shelves are different: the piece often has to fit an opening or reach a particular length. For those jobs, mark the cut before deciding which saw to use.
Measure the space, mark the board with a pencil, and use a square to carry a straight line across it. Check the measurement once more before cutting. Keep the saw blade on the waste side of the line, since the blade itself removes a little material.
- Handsaw: A sensible first choice for a few short, straight cuts in trim or a shelf board. It costs less and takes little storage space, though it asks for patience.
- Jigsaw: Useful for curves, notches, and cuts around an obstacle. It can cut straight lines, but keeping the blade square takes care.
- Circular saw: Better suited to repeated, long straight cuts in boards or sheet material. It needs a stable work surface and careful handling.
A single shelf rarely justifies buying a power saw. A well-marked line and a steady handsaw may be all the job needs.
Give a circular saw a steady setup
A circular saw is useful for cutting boards and sheet goods, but the saw alone is not the whole setup. A clamped straightedge guide helps keep long cuts on line. A stable workbench or sawhorses, with support under the material on both sides of the cut, keeps the board from shifting or sagging.
The blade should match the material being cut and be in good condition. A wood-cutting blade is not a substitute for one rated for masonry or metal. Before buying a saw for a single project, it helps to count the cuts: a handsaw may still be the simpler choice for one or two short boards.
If poorly supported material sags, the cut can close around the blade. That binding may cause the saw to jerk back unexpectedly, called kickback. Secure support matters as much as a straight cutting line.
Hold it steady, then smooth it out
A pair of clamps can make a small repair much less fiddly. They hold a board still while it is drilled or cut, keeping hands away from the cutting area. Clamp the workpiece to a sturdy surface, and check that the clamp will not get in the tool’s path.
For glued boards, clamps hold the pieces together while the glue dries. Place a scrap of wood between each clamp jaw and the finished surface to prevent dents. Tighten until the joint closes and stays aligned; extra pressure can make the boards slide out of position. Follow the glue’s label for drying time before removing the clamps.
Small sanding jobs rarely need a power tool. Wrap sandpaper around a sanding block for a flat, comfortable grip, then sand wood with the grain. Coarser paper removes rough spots; finer paper smooths the surface before finishing. Start with a grit that does the job without leaving deep scratches, and move finer as needed. A powered sander starts to make sense for a tabletop, several boards, or other repeated work, but it can remove material surprisingly fast near edges. Wear a dust mask and clean up sanding dust before painting.
Before buying another tool
Why does a drill bit slip instead of turning?
Stop the drill and remove the battery before checking the bit. A bit that is not seated securely, a loose chuck, or too much pressure can cause slipping. The common causes of a slipping drill bit are worth checking before replacing the drill.
Does a bending jigsaw blade mean the saw is worn out?
Not necessarily. A dull or unsuitable blade, a cut forced around a tight curve, or unsupported material can push the blade sideways. Check the setup and the reasons a jigsaw blade bends during a cut before shopping for another saw.
Should a new tool be the first fix when a job goes badly?
Pause and check the material, blade or bit, and how the workpiece is supported. A small setup change may solve the problem without adding another tool to the cupboard.
Is it better to buy or borrow a tool for one project?
Borrowing makes sense for a tool that may be used only once, provided it is in good condition and there is time to learn its controls. Buying becomes more sensible when several planned jobs call for the same tool.
List the next few repairs first, then gather basic hand tools and safety gear. Add a drill when those jobs call for one; borrow or buy other tools for specific projects rather than guessing ahead. Before working on the real piece, try the setup on scrap material.