

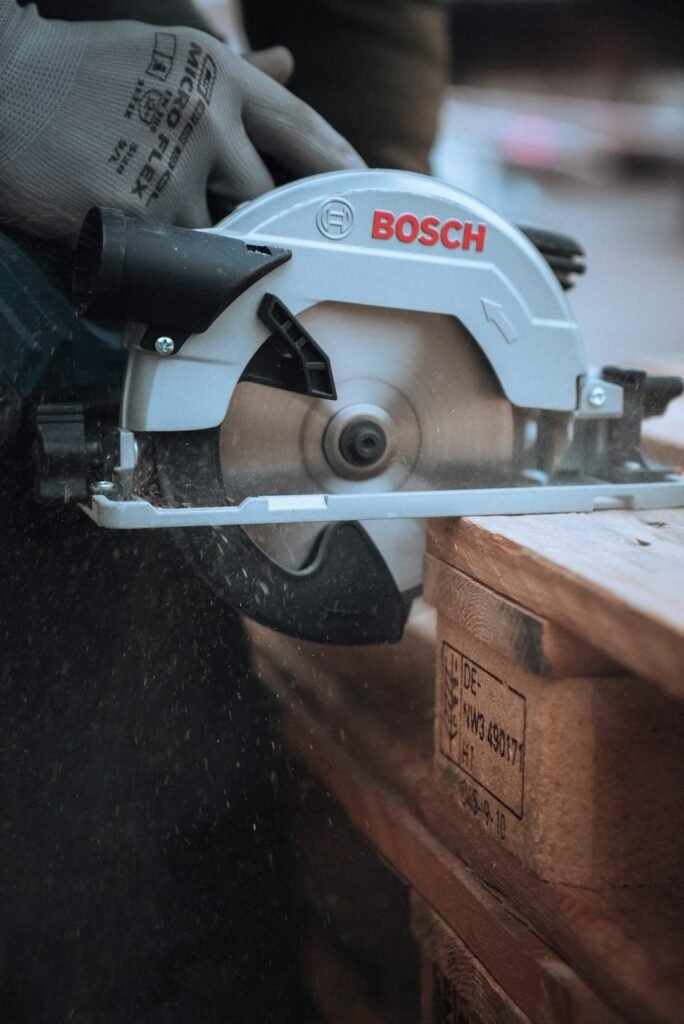


Circular saw kickback happens when the blade binds in the cut and the saw is thrown back towards the user, often in a fraction of a second. The good news is that most circular saw kickback is preventable with the right support, a sharp blade and a safe stance, all covered step by step below.
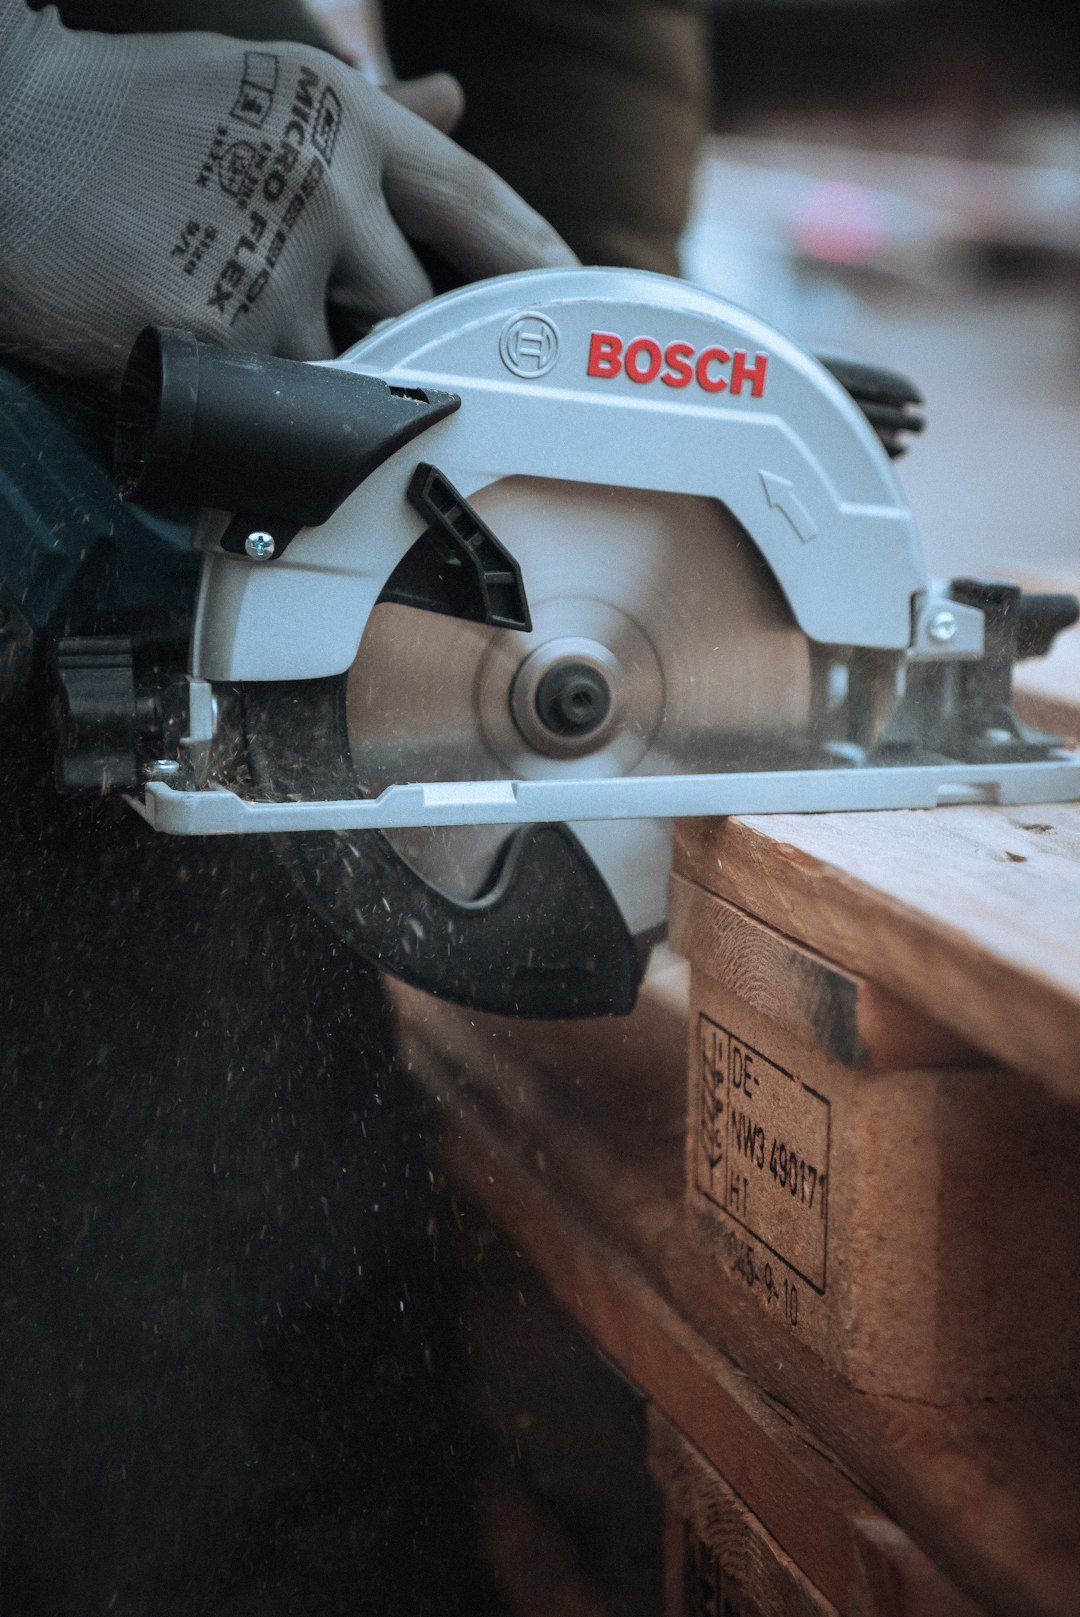
A steady-looking board can shift the moment the blade goes through.
A long board rests on two sawhorses, but the piece beyond the cut has no support. As it sags, the wood can close around the blade and push the saw back. An offcut wedged against a wall or another board can cause the same trouble.
Before starting, check both sides of the cut line. The part being kept needs firm support so it cannot shift. The offcut needs room to move without trapping the blade; if it is large or heavy, support it so it cannot fall and twist. If the setup still feels uncertain, move the supports and check again before pulling the trigger.
Why the blade binds and kicks back
When the kerf closes around a spinning blade, friction can stop the cut abruptly. While the motor is still turning, teeth at the back of the blade can catch the wood and send the saw back toward the operator. Pushing harder does not reopen the cut; it can make the reaction worse.
A dull blade needs more pressure to cut and may heat up as it rubs. Bent, chipped, or dirty teeth can also snag. With the saw unplugged or its battery removed, check the blade for damage and buildup. Replace a dull or damaged blade with one suited to the material.
Steering off the marked line can pinch the blade too, especially if the saw is twisted to correct its path. Keep the base plate flat, start on the line, and feed the saw at a steady pace. If the blade labors or the kerf begins to close, release the trigger and hold the saw still until the blade stops. Correct the cause before restarting.

Check the saw while the power is disconnected
- Disconnect the power
Unplug a corded saw or remove the battery before touching the blade, guard, or depth adjustment. Wait until the blade has stopped completely.
- Inspect the blade
Check that the blade suits the saw and the material being cut. Missing or chipped teeth, cracks, warping, or heavy buildup mean it should not be used. If it fails inspection, follow the instructions to replace a circular saw blade correctly.
- Check how the blade is fitted
The blade should sit flat on the arbor, with its rotation arrow matching the saw’s arrow. Check that the flange and fastening bolt are installed and tightened according to the saw’s manual.
- Test the lower guard
Move the guard by hand and release it. It should swing freely and close fully on its own; a sticking guard needs attention before the saw is used.
- Set a shallow cutting depth
With the saw’s base resting on the stock, adjust the depth so the teeth project only slightly below its underside. Lock the adjustment before reconnecting power.
Support the wood without trapping the blade
A cut can start straight and still bind when the wood shifts halfway through. Before starting the saw, check what will hold the main piece and what will happen to the offcut as it separates. Neither side should sag into the blade’s path.
Long boards
Set a long board on stable sawhorses or a bench so the main piece cannot rock. Place the cut line clear of the supports, with enough room below it for the blade. A separate stand can carry a long or heavy offcut, but it should support its weight without lifting it or pushing it against the main board.
Secure the main piece if it might move. Clamps suited to the workpiece can keep it from sliding, but clamping both sides of the cut in a way that squeezes the kerf may trap the blade. Check that the saw’s base has a clear, steady surface to ride on throughout the cut.
Full sheets
For plywood or similar sheet goods, a rigid foam insulation board laid on a flat floor makes a useful sacrificial support. It holds the sheet across its width, including the offcut, rather than leaving a large section hanging past a sawhorse. Set the blade only slightly deeper than the sheet so it cuts into the foam without reaching the floor. Keep the cut line clear of any hidden screws or other hard objects, and make sure the sheet lies flat before cutting.
Secure the stock and clear the cut path
A board can be well supported and still slide when the saw starts moving. Check that the bench or sawhorses cannot rock, then clamp the stock so it cannot creep sideways. Give the board a light push before cutting; if anything shifts, fix it first.
Clamp placement matters as much as clamp pressure. Keep jaws and handles clear of the marked line and the full path of the saw base. With the saw unplugged or its battery removed, slide the base along the intended route to check clearance. Move any clamp in the way rather than steering around it mid-cut.
Look along the cut line for nail heads, screws, or staples, especially on reused lumber. Check the underside too; a fastener hidden below the surface may still meet the blade. Remove it or shift the line before powering up.
For a long straight cut, a guide for straighter circular saw cuts can keep the base from wandering. Clamp the straightedge firmly, measure the offset between the blade and the edge of the saw base, and check that the guide stays put when pressed.
Stand clear of the blade path
A clear cut path is not enough if the person holding the saw is directly behind the blade. Before starting, stand slightly to one side of the blade path, with feet apart and weight balanced. That leaves room to control the saw if it jumps backward. Set up so the full cut can be reached without leaning across the board or changing footing halfway through.
Keep both hands on the saw’s intended grips where its design allows. Neither a hand nor any part of the body should cross the cut line, even to steady an offcut. If the board needs another hold-down point, stop and add a clamp before cutting.
Wear safety glasses and hearing protection. For a corded saw, route the cord behind the work so it cannot catch on an edge, snag underfoot, or enter the blade path. For a cordless saw, check that the battery is latched and has enough charge to finish the pass without interruption.
Start clean and keep the saw straight
- Set the base flat
Place the front of the saw’s base on the wood with the blade clear of the edge. Keep the saw level as the cut begins.
- Let the blade reach full speed
Start the saw before feeding it into the wood. Entering the cut too early can make the blade grab instead of cutting cleanly.
- Feed at an even pace
Move forward with light, steady pressure. If the motor slows or the cut grows harder to push, ease off rather than forcing the saw through.
- Keep the base supported
Watch the cut-line notch and guide the saw straight ahead. Avoid twisting to correct a wandering cut, and keep the base flat as it reaches the far edge.
Release the trigger and hold the saw still until the blade stops. Do not pull it backward or lift it out while the blade is spinning. Disconnect the power before checking what closed on the blade or shifted beneath the wood. Correct the support or cutting setup before trying again.
A quick check before the trigger
-
Check the blade and guard
With power disconnected, look for damaged teeth and make sure the lower guard moves freely and closes on its own.
-
Set the blade depth
Set it just deep enough to pass through the wood without striking the support below.
-
Support both sides of the cut
Keep the main piece steady and give the offcut room to move without closing on the blade.
-
Secure the stock
Make sure the board cannot shift and that clamps sit clear of the saw.
-
Clear the route
Check for hidden fasteners and anything that could catch the saw, cord, or straightedge.
-
Set a balanced stance
Stand to the side of the blade path with room to guide the saw through the whole cut.
Common causes of circular saw kickback
The biggest causes of circular saw kickback are a pinched blade, a dull or dirty blade, twisting the saw mid-cut and cutting wood that is poorly supported. When the offcut sags or the kerf closes, the teeth at the back of the blade grab the wood and push the saw up and out. Knots, wet timber and internal stresses in the board can make the kerf close unexpectedly.
To reduce circular saw kickback, support the board on both sides of the cut so neither piece can drop or pinch, set the blade depth so it only extends about a quarter inch below the material, and let the blade reach full speed before it touches the wood. Keep the base plate flat, push steadily without forcing the saw, and release the trigger and wait for the blade to stop before lifting it out.
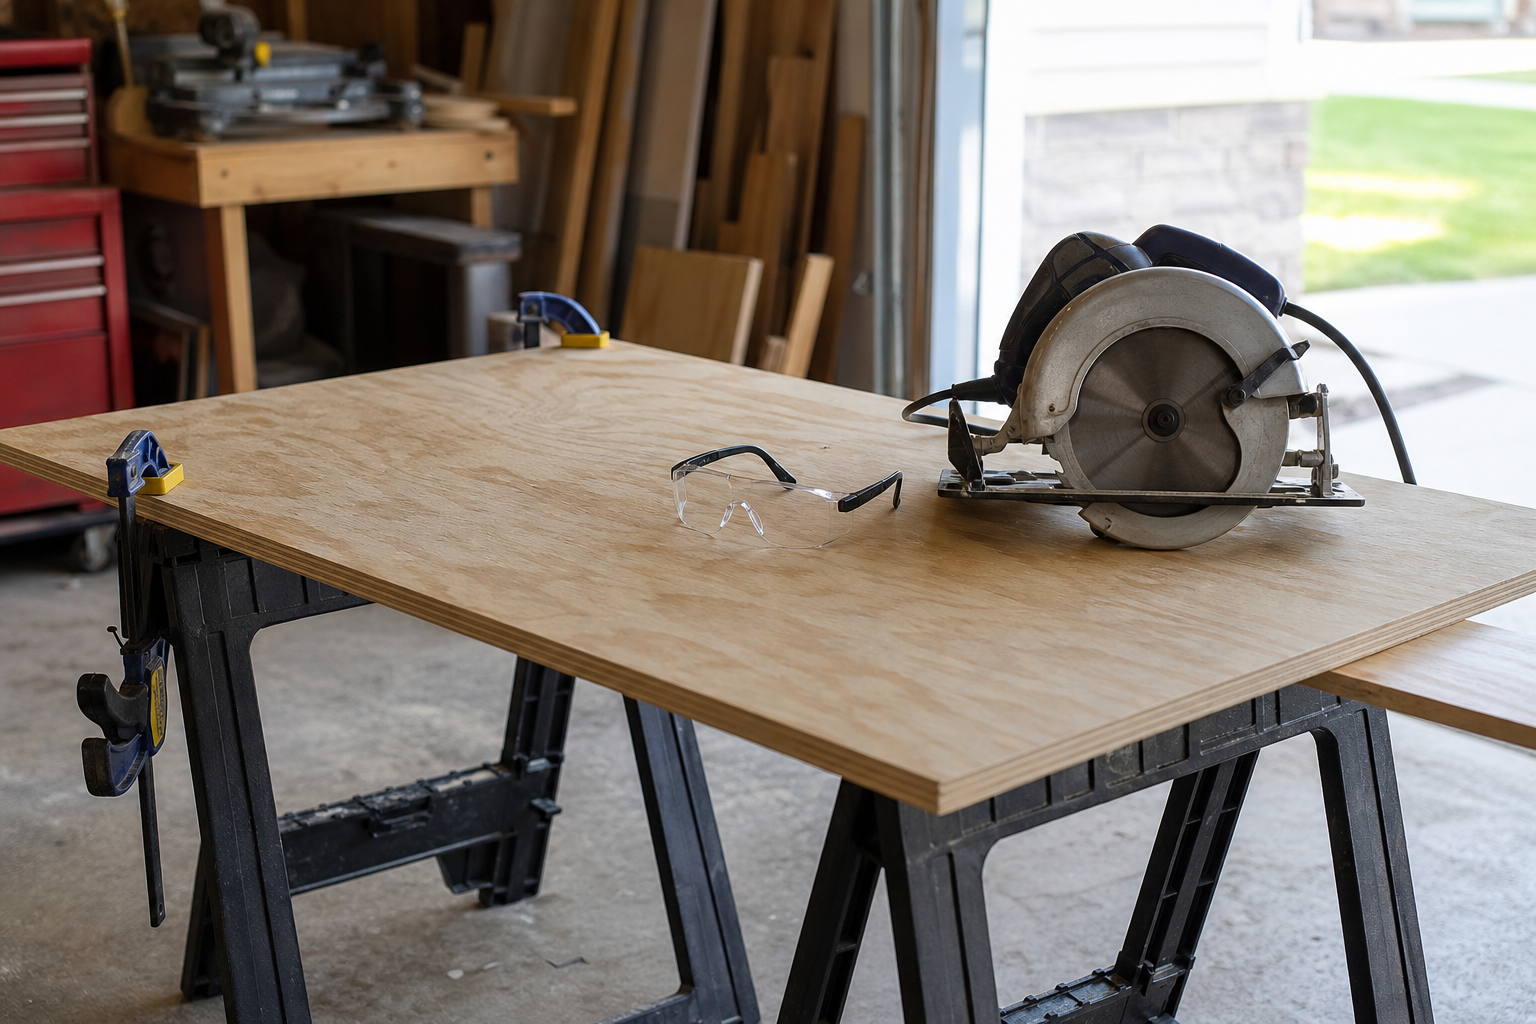
Safety gear and habits that limit circular saw kickback
Wear safety glasses and hearing protection, keep both hands on the saw, and stand to the side of the blade line rather than directly behind it. Check that the lower guard springs back freely and never wedge it open. A riving knife or splitter, where your saw supports one, also helps reduce circular saw kickback on long rip cuts.
To improve accuracy, read our guide on how to cut straight with a circular saw and a guide and learn how to use a speed square to mark straight cuts. OSHA's page on handheld circular saw hazards also lists the main risks and safeguards.
If any check fails, adjust the setup before starting. A few seconds spent fixing a support or moving a clamp are safer than trying to recover a binding saw. These checks belong alongside the basics of DIY tools and workshop essentials, not after the blade is running.






















1 response